

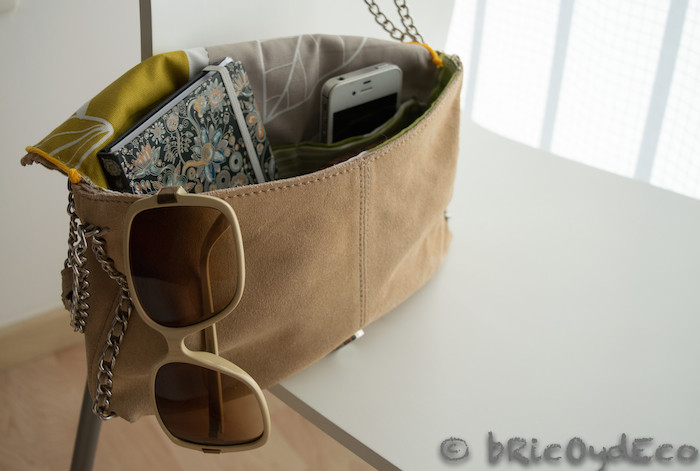
Sometimes we have objects that we do not use because they lack some detail that makes them not suitable for us. comfortable or functional such as a bag without an inner lining. I have a small suede bag that I bought several seasons ago but that I don’t usually use precisely because I don’t find it comfortable not to have any type of internal pocket to leave my keys, mobile, etc. Also, since it doesn’t have a lining, it doesn’t have much consistency either and it deforms easily, so I decided that the best solution was to make one with a scrap of fabric. Read on to know how i lined the inside of this bag step by step.
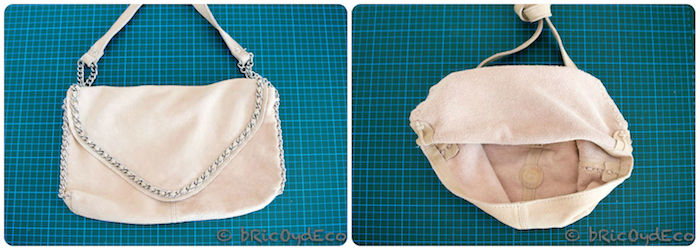
In the following images you can see the exterior and interior of the bag that has a rectangular shape and closes with a flap. It is made of suede, a material that is not very rigid and that makes dont have consistency and lose shape easily.
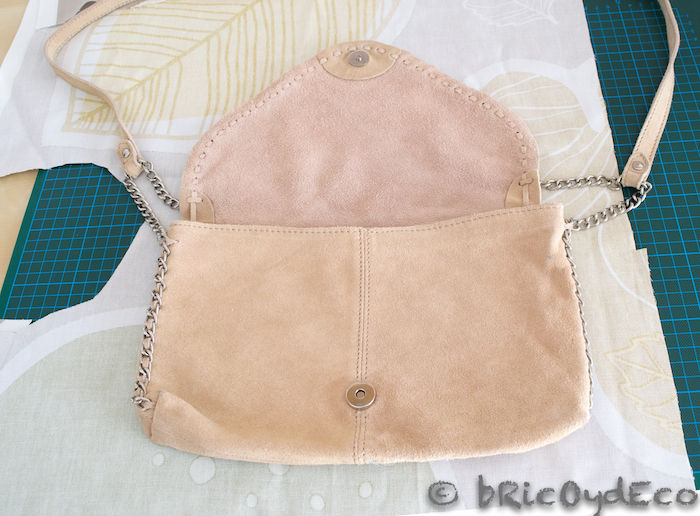
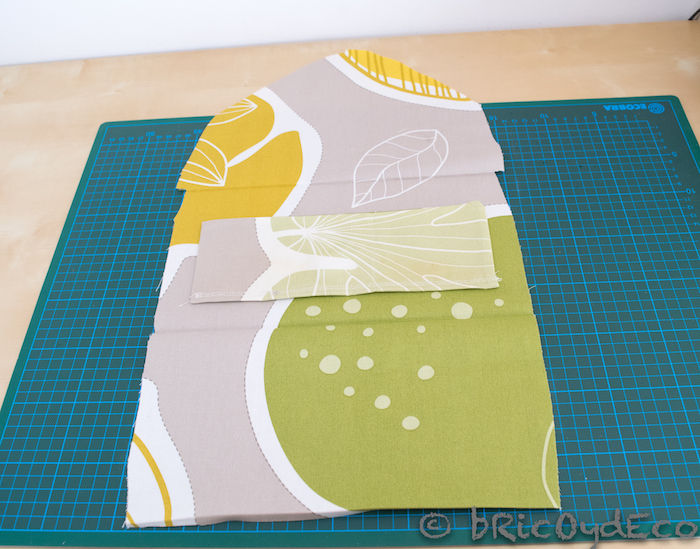
Despite this, I liked the bag and it was new, but I wasn’t taking advantage of it so I decided to cover it myself. For it I used a piece of fabric that I had at home, I placed the bag on top and with a piece of chalk I outlined the silhouette on the back of the fabric to get the pattern.
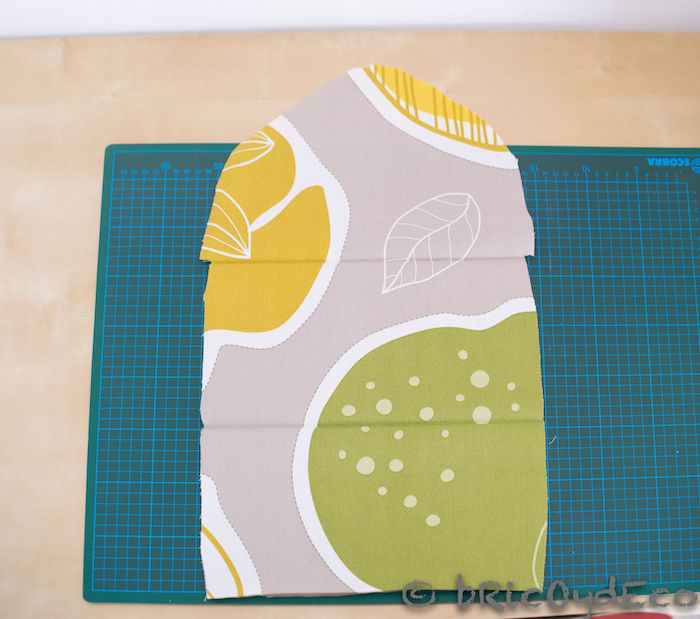
Once the silhouette is drawn, the I cut leaving 1 cm of margin for the seams. In this case the bag is flat and it is not necessary to draw the sides but it will have to be taken into account in bags with more depth.
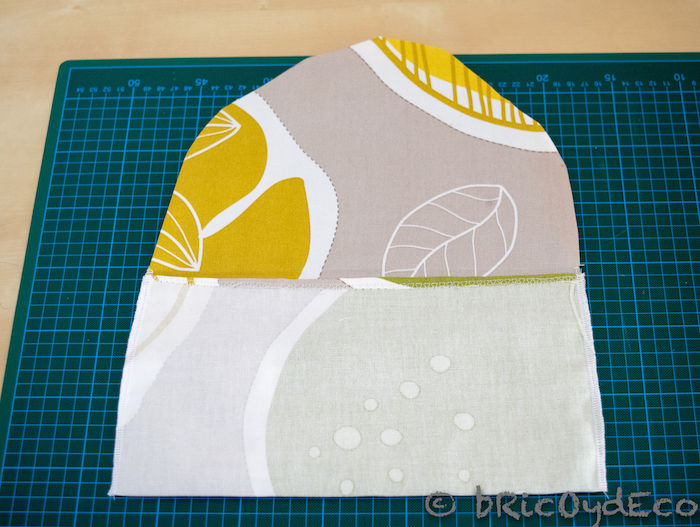
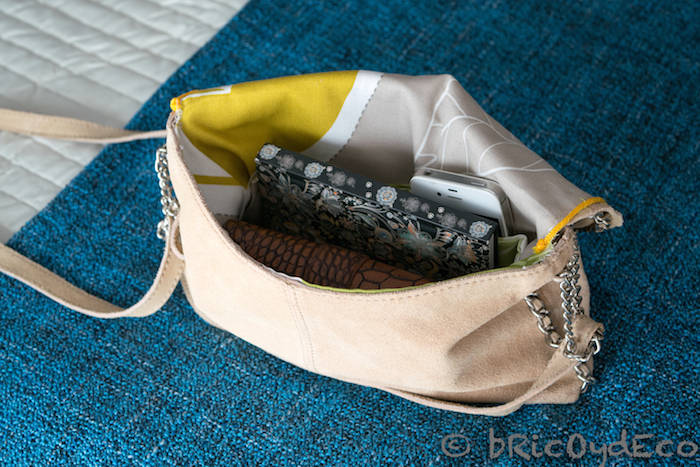
to do the internal pocket I cut out two rectangles of fabric and I joined them on all 4 sides, so that the right side of the fabric could be seen on both sides. Then I sewed it in the part of the lining where I wanted to put the pocket and I stitched it to divide it into two departments in which to put the mobile, the keys, etc.
The next step was to sew the two sides of the fabric that form the rectangle of the bag, so that the wrong side of the fabric is visible. I sewed them by machine but it can be done perfectly by hand.
Finally, I placed the lining inside the bag and put in the excess that I had left as a margin, to fix it I used the iron. To give the bag a bit of consistency and stiffness, before attaching the lining to the suede, I placed on the back (between the bag material and the lining) a rectangle made with tetra brik.
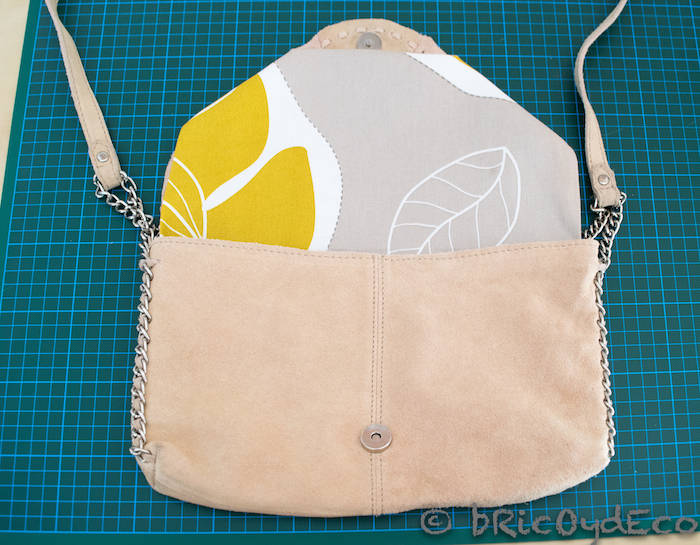
For attach the lining to the bag we can sew it or stick it with textile glue or with adhesive tapes for hems. I used hemming tape because I didn’t want any stitches to show. Once the lining was fixed to the bag, I finished off the flap with a small piping yellow to give it some contrast.
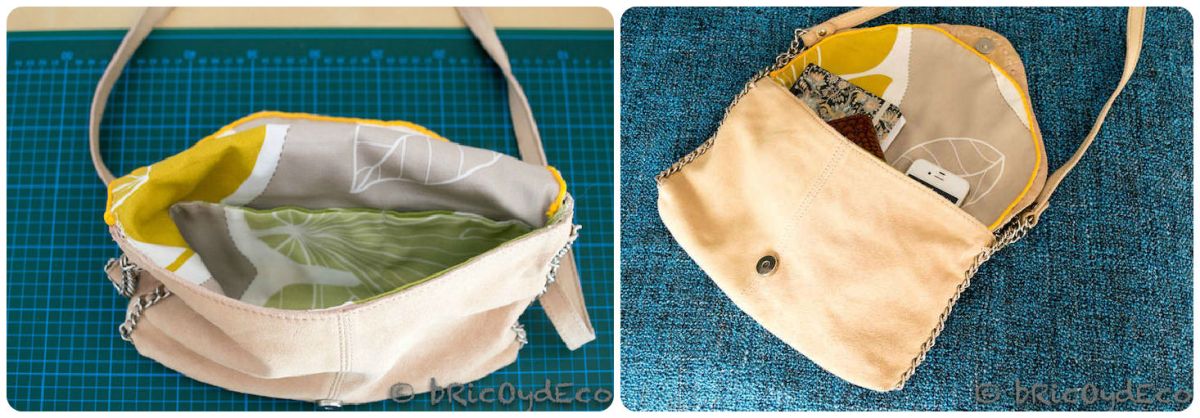
After following all these steps, we already have the interior lined bag. Now we have a internal pocket in which we can place small objects without having to search for them in the background. In addition, the bag has gained consistency with the internal cardboard that we have placed between the lining and the suede and it does not deform even if it is empty.
This solution is useful both for bags that do not have a lining, and for those that have a damaged lining, or simply for when we want to renew the fabric for another with a different pattern.
What do you think of the final result? Although it is not a very visible change externally, it is a great improvement that has added more functionality and a better finish to the bag. If you liked this Step by Stepplease share it with your friends.


