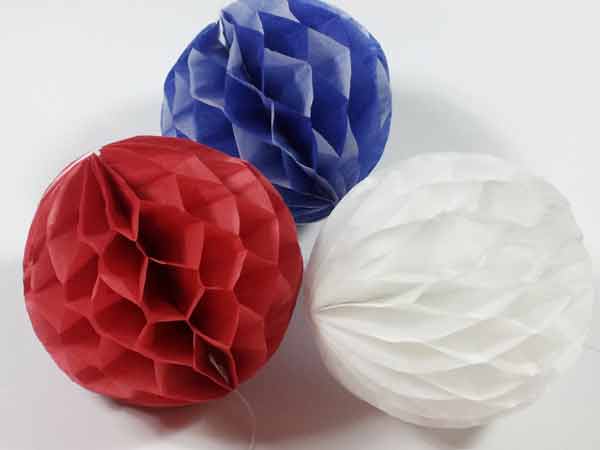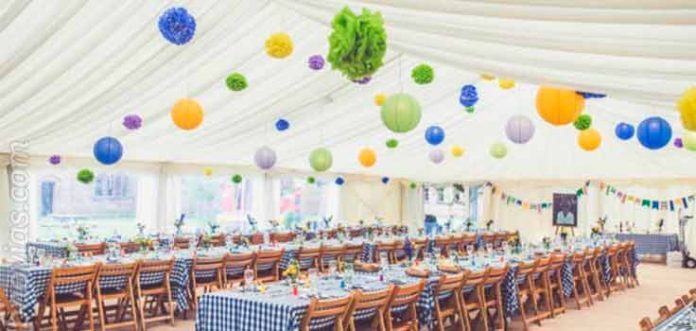
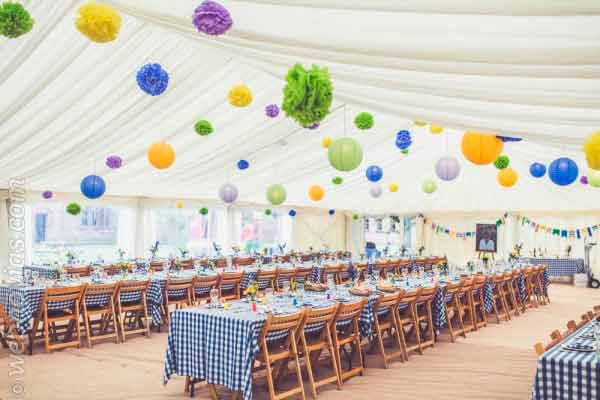
Seeing lately the success that is having the celebration of outdoor events through the use of tents for events such as communions, birthdays, weddings, etc… Today we are going to see a very useful craft for decorating this type of event, honeycomb pom poms.
Its manufacture is very simple and economical, and for this reason, it does not take away glamor or style from the decoration of our event, for this reason, we consider it to be a more than valid option to take into account.
What will we need to make the bee nests?
- Silk paper.
- White cardboard.
- Pencil.
- round object.
- Scissors.
- Rule.
- Paper glue.
- Thread and needle.
What is the process of how to make pom poms?
We take a round object that we have at home and put it on white cardboardwe draw a circle with a pencil taking advantage of the shape of the object on the cardboard, then we divide that circle into 6 or more parts by drawing parallel vertical lines.
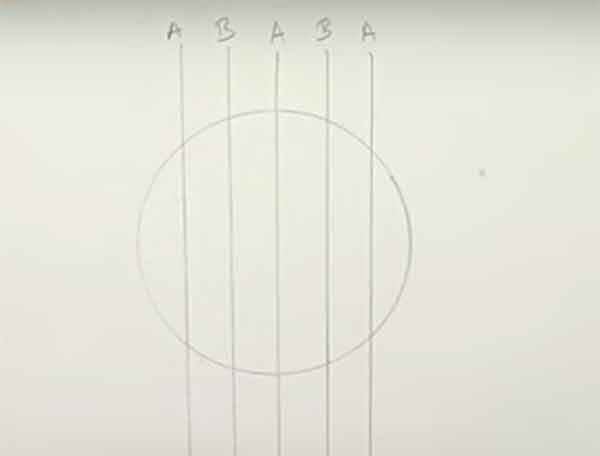
We distinguish the lines that we have drawn when dividing the circle calling them for example A and B as indicated in the image.
Next, we place tissue paper cut into squares on the cardboard with a size slightly larger than the circle and Mark the top two corners with a pencil. to have the reference.
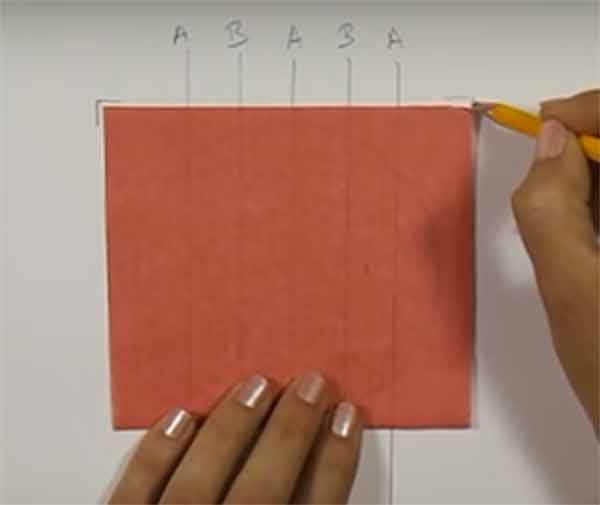
Well, we put glue on the paper silk vertically on the lines that we had marked with the letter Aand place another piece of tissue paper equal to the previous one on it.
Now, we put glue vertically on the lines that we had marked with the letter B and place another piece of tissue paper.
We will repeat this process about twenty times alternating glue on lines A and B as we indicated in a first step.
EYE: It is very important to remember which line you put glue on when gluing the last layer of tissue paper. Later we will see why.
When we already have all the pieces of tissue paper glued in the indicated way, in a part of the cardboard we trace the same circle that we have traced at the beginning, we cut it and fold it.
Now we unfold it so that the fold line is marked and we put glue to stick it on our wad of tissue papers glued so that the fold line is completely horizontal.
Once glued, we cut with scissors the excess tissue paper that protrudes from the glued cardboard circle so that everything is compact in a circular shape.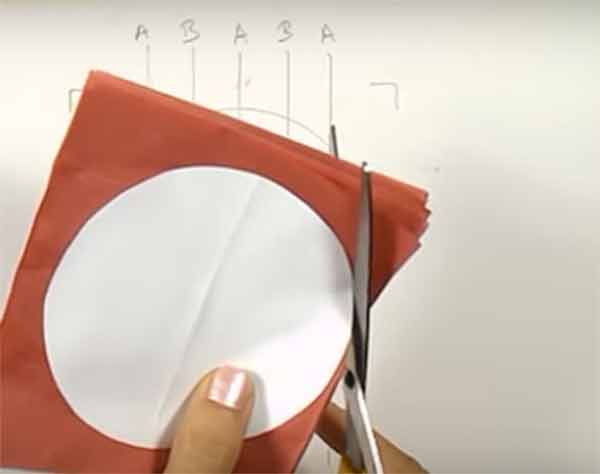
Once we have everything glued and in a circular shape, we cut along the line that had been marked on the cardboard, resulting in two equal halves.
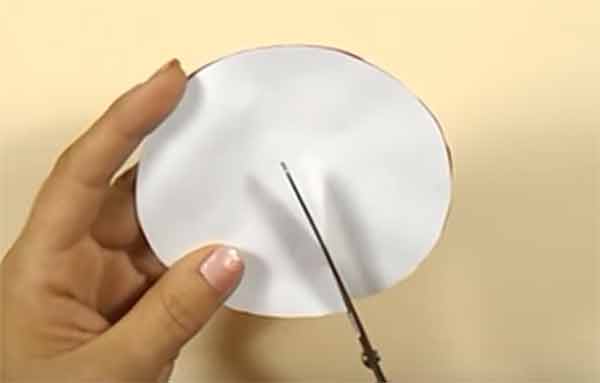
Now we put one of the halves on the cardboard that we had with the vertical lines named A and B, and taking into account which was the last layer of tissue paper that we glued, we place glue again vertically on the lines with the last letter (if the last layer of tissue paper is glued on lines A then we put glue on lines A, if the last layer was on B then we put on B).
Now we glue the other half on which we had applied the glue.
Finally, we tie the two ends with thread, leaving a little thread in one of the parts to be able to hang the object. Put glue on both sides of the cardboard and unfold the honeycomb joining the two parts of cardboard so that they stick together.
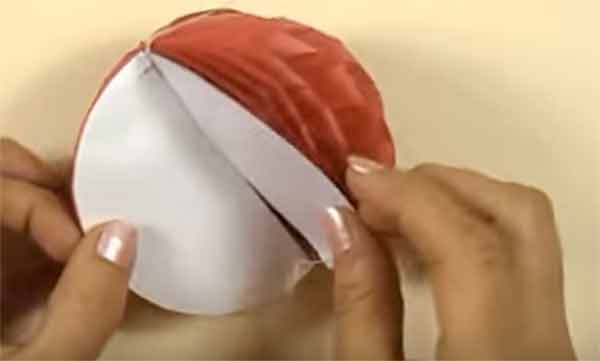
And voila! We already have our honeycomb prepared for any type of decoration.
