

The arrival of summer and vacations is a moment expected by many to rest and disconnect from the routine of the day. However, it is also a time that is used to carry out tasks at home that we have not been able to do the rest of the year. One of those tasks is to paint the house, so I am going to give you a series of tips to paint the ceiling of the rooms and obtain a professional result.
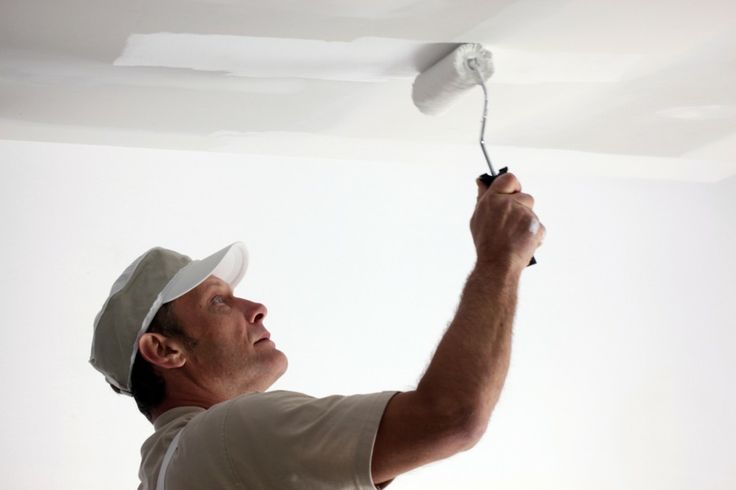
In principle paint the walls and ceilings of a house It is not too complicated, but we must follow a series of recommendations to obtain a good result and dirty as little as possible. If we want to paint a complete room, it is always advisable start painting on the ceiling, following the next steps:
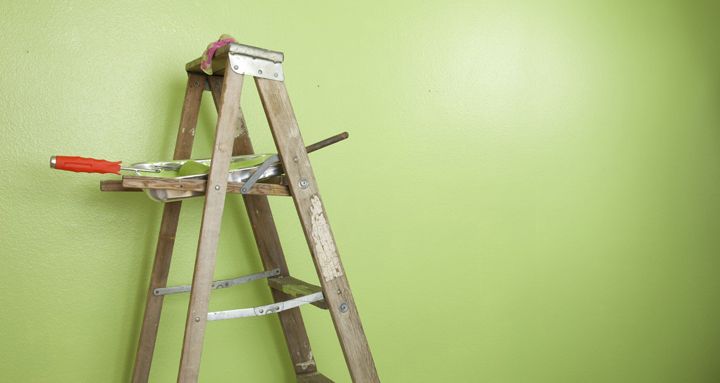
Materials for painting the ceiling
For paint the ceiling we will need:
- Roller. The length of the roller hair will depend on the roughness of the surface, that is, if the ceiling that we are going to paint has gotelé, we will need a wool roller with the longest hair possible, while if the ceiling is smooth, a short-haired roller is convenient. On the other hand, long-haired wool rollers are more appropriate for vinyl or acrylic paints and short-haired ones for plastic or water-based paints. Finally, if the roller is new, we will eliminate the loose hairs by wrapping adhesive tape around it and then removing it. If it is new or has little use, it is not advisable to put it directly in the bucket as it will absorb too much paint, better to paint it previously with a brush and then put it in the bucket.
- Brush. Better to use a round brush to paint the corners and edges that the roller cannot reach.
- extension stick. There are sticks to which we can roll the roller to be able to reach the ceiling and be able to make the passes comfortably, quickly and without too much effort.
- Paint. The paint must be of good quality, in this way we will avoid giving more passes than necessary and obtain a good result. In addition, there are anti-drip paints on the market that are especially useful when what we are going to paint is the ceiling.
- A bucket and a tray to paint. The bucket must be wide to correctly remove the paint. In addition, a tray in which to moisten the brush when we paint the perimeter of the ceiling will come in handy.
- protectors. Painter’s tape, plastic, cardboard, newspaper, cap, protective glasses… everything necessary to protect furniture and floors and also so that we ourselves do not end up overpainted.
Steps to paint the ceiling
- strong>Prepare the room. This first step is essential because the more time we spend preparing the room, the less time it will take to paint. For this we will remove the lightest furniture as well as curtains, lamps, etc. We will cover bulky furniture with plastic or fabrics that we no longer use. We will also place painter’s tape where necessary and cover the floor with cardboard or newspaper to prevent staining (it is not advisable to use plastic for the floor since it can break and not protect it properly).
- Clean and repair damage. Before applying the paint we will repair the cracks and damages that the ceiling may have using putty. Then we will sand the surface and clean it with a damp cloth, insisting on the areas where there may be stains. If there is moisture, we will treat it with a specific product.
- Paint the perimeter. Before starting to paint with the roller, we must paint with the brush the entire perimeter of the angle between the ceiling and the walls, as well as all the areas that the roller does not reach. This step is very important because if we do it after painting with the roller, marks that are difficult to remove can be noticed.
- First hand with the roller. Once we have soaked the roller with paint from the bucket and we have drained it properly, we will begin painting vertical stripes from the corner of the room door wall towards the window, avoiding going back over the already painted surface. Care should be taken that the stripes of paint overlap slightly to avoid leaving gaps without painting, but be careful not to leave visible marks. Also it is very important to slide the roller over the surface and not presssince it can cause chipping on the paint that is difficult to repair.
- Second hand with the roller. Once the first coat has completely dried (see the repainting times recommended by the manufacturer), we will apply the second layer painting horizontal stripes, that is, in a transverse direction to the first hand. In this way we will ensure that the paint is distributed evenly and we will reduce the risk of leaving marks.
- The finishing touch. Finally, and before the last layer has dried, we will pass the roller without adding paint in the same direction as the first coat, in this way we will obtain a magnificent result and we will give that professional touch to our ceiling.

If we follow these steps we will ensure an optimal result and we will save a lot of money. Do you dare to paint the ceiling the next time you have to do it? Have you ever done it and it hasn’t turned out well? Do you have any tricks you want to share?
If you liked this post, you can see many more guides and DIY projects at .
[elfsight_youtube_gallery id=»1″]


