

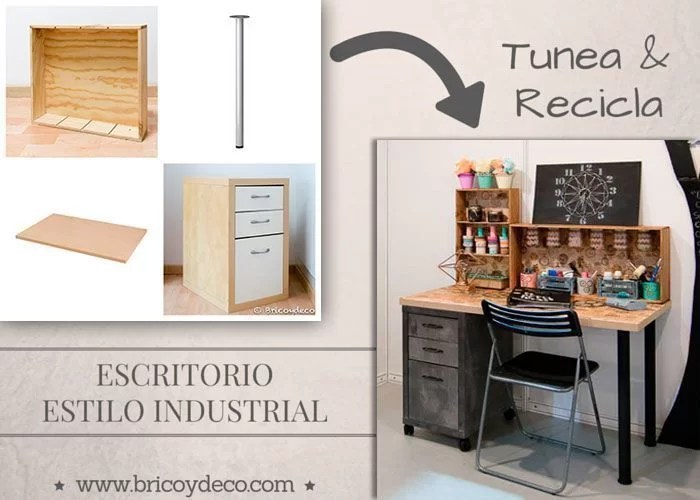
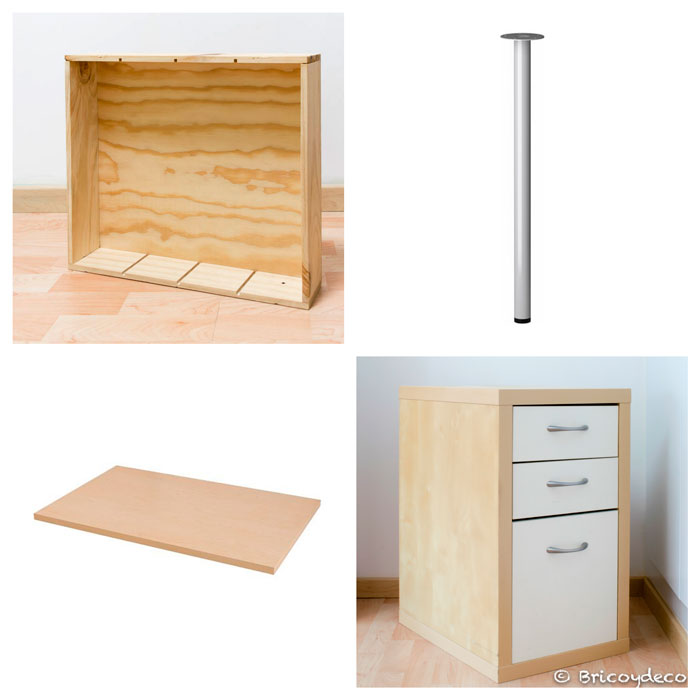
If you have a tabletop, some legs, a chest of drawers, and some wooden boxes or wine cases, then you have a industrial style desk. You will surely wonder how it is possible to combine and transform these elements to turn them into a trendy piece of furniture, you just have to keep reading to find out.
The industrial style furniture They are usually straight lines and combine metals such as iron and steel with rough wood, untreated or painted with stripped and worn colors that show the passing of the years. On the other hand, motifs and prints with vintage watches and prints of numbers and letters are also common in the industrial aesthetic. Taking into account these keys it is possible to transform these objects:
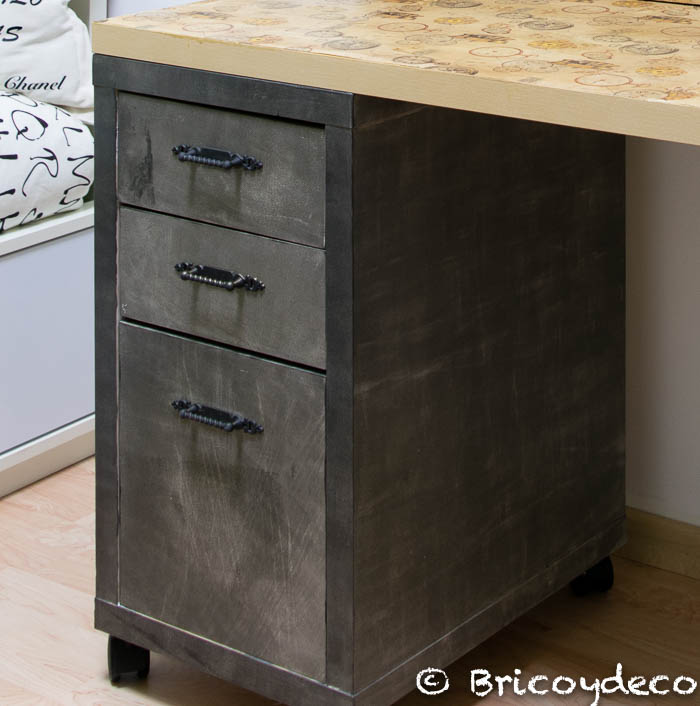
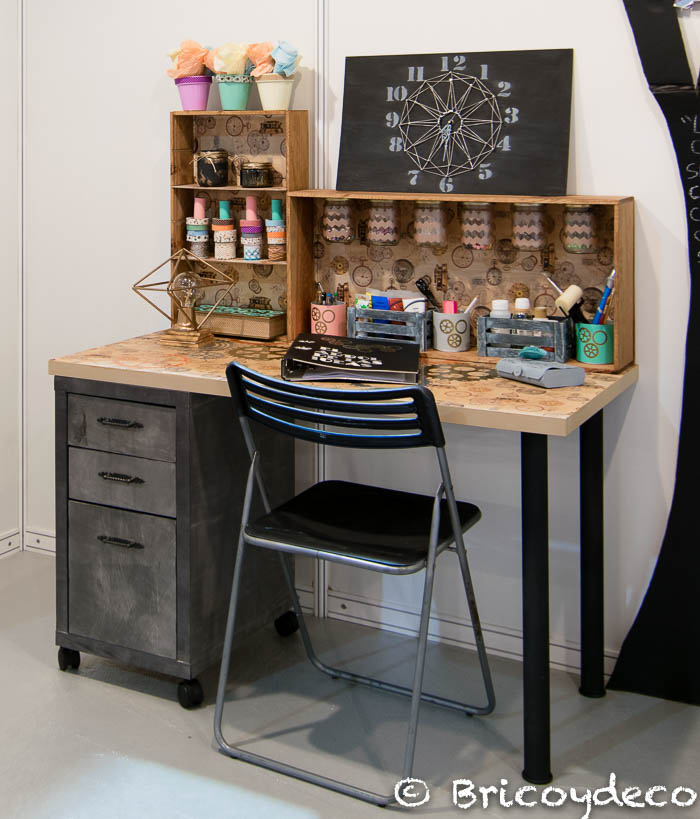
On an industrial-style desk like the one in the following image:
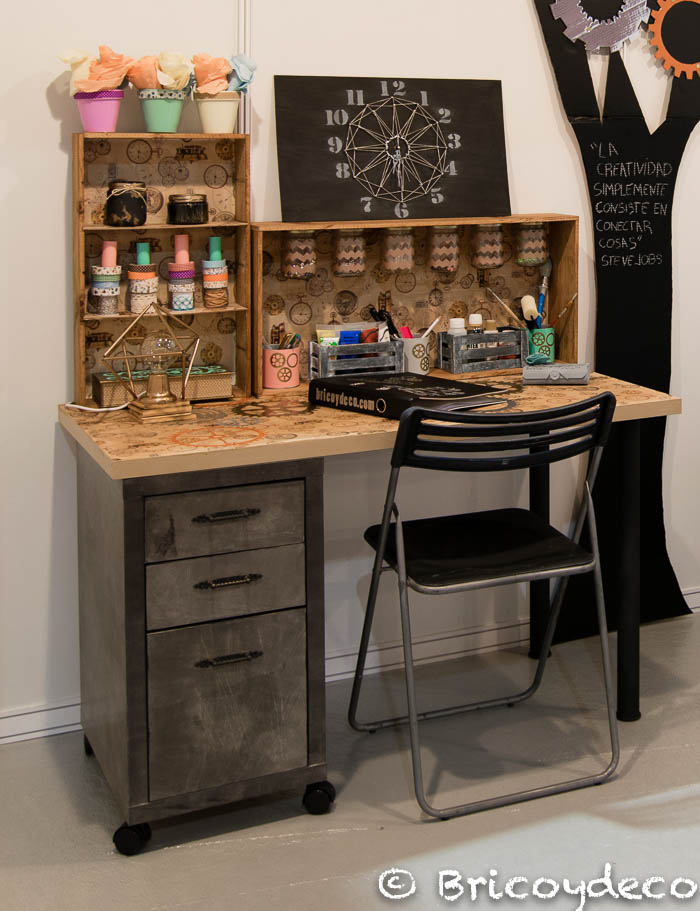
You don’t need to be an expert in DIY for this, with a little paint, wood stain and a nice paper you can do miracles.
From melamine chest of drawers to chest of drawers with an industrial look
For transform this melamine chest of drawers into an industrial looking chest of drawers I used homemade blackboard paint in two shades of grey, in this way it created the stripped/worn effect of the industrial style and also gave it a metallic appearance. In this link you can see the step by step of the transformation.
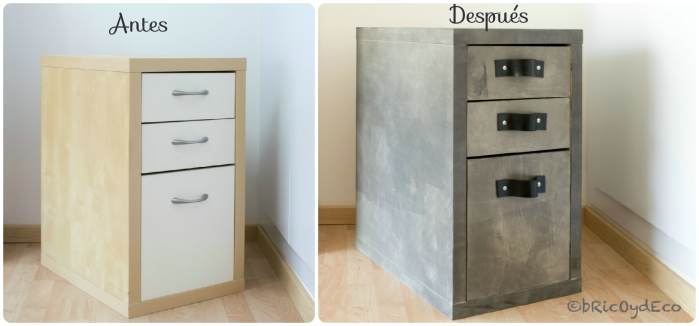
Although at first I used an old belt as drawer handles, I had no choice but to replace them with metal ones because my cats took too much “love” for them and started biting them (why haven’t they invented muzzles? for cats?).
I have to admit that the change of handles gave the chest of drawers a vintage look that it did not have with the leather ones.
[magicactionbox id=»5642″]
Recycle wine cases into organizer racks
For me the wooden boxes of wine cases or Christmas lots are a treasure, its appearance can be completely changed and recycled as shelves, bookcases or organizers. At first I decorated three wooden boxes although finally I only placed two on the desk, the steps I took were the following:
1st.- Clean and sand imperfections. It must be taken into account that the woods with which this type of box is usually made usually have roughness and imperfections, so the first step will be to sand it so that it is uniform and smooth to the touch.
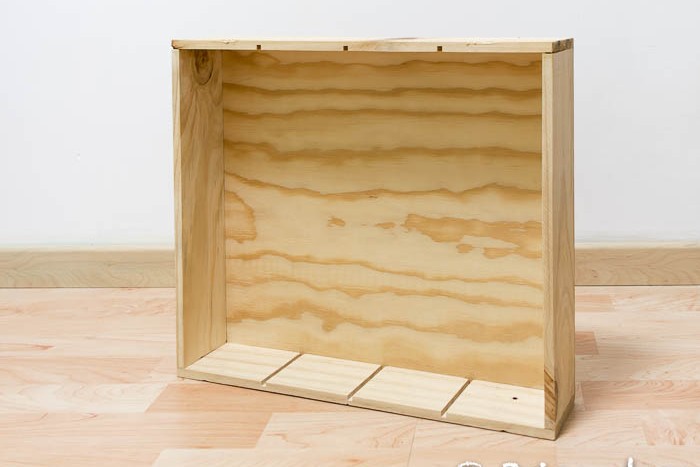
For sanding, you can use sandpaper or a horsehair glove if you don’t want to open the pore too much. Normally, what I do is use a sandpaper or sander if I am going to paint the wood because that way the paint grips better, and use a horsehair glove if I am going to stain the wood, since this prevents it from absorbing too much water.
2nd.- Apply stain to wood. I personally like to use nogalina since it is very cheap and gives good results. In this link you have the step by step of how to make nogaline and stain the wood.
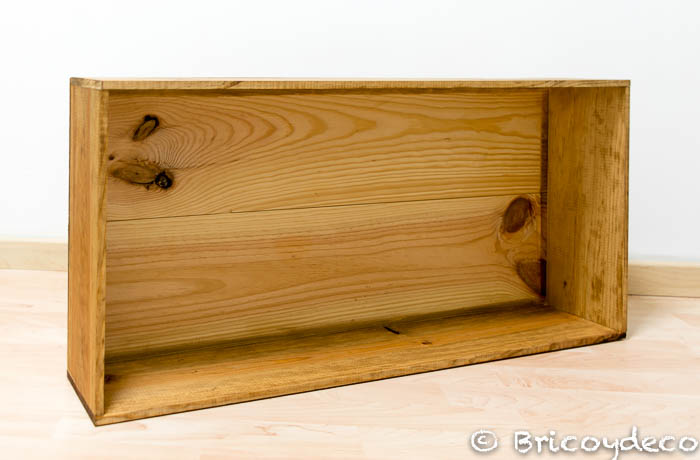
I always advise giving several layers of stain until the desired color is achieved, it is preferable to applying a very dark stain and then having to reduce the color.
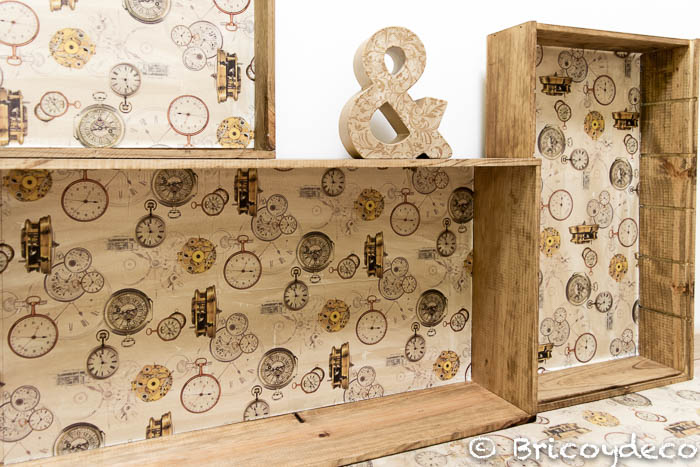
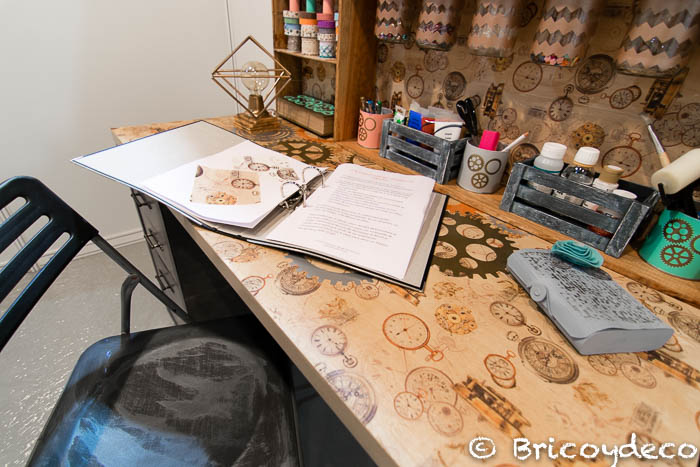
3º.- Next the bottom of the wooden box is lined with paper. For this occasion I have used the Tassotti «Clocks» model since it reminds me of industrial aesthetics, it can be adhered with decoupage glue or special glue for crafts.

For the decoupage technique, you can use decorated paper such as on this occasion, napkins, rice paper, wrapping paper and, in general, any paper that is not too thick.
4º.- Once it has dried completely (better to let about 12 hours pass), the paper is dyed with nogalina and sanded with fine sandpaper (300 grit for example) to give it that aged look that characterizes industrial-style furniture.
Finally, it will only be necessary to apply varnish to protect the result. I usually use a matte finish polyurethane varnish as it offers resistance without being hardly noticeable.
A most common board
A melamine board can be covered following the same steps that have been taken to decorate the bottom of wooden boxes, in this way it is possible to radically change its appearance for very little money.
Keep in mind that the table top will have a greater wear than the rest of the elements of the desk, so it will be necessary to apply several layers of polyurethane varnish. I gave it three coats of varnish and later I wet and cleaned the table with furniture polish without any problem.
A few licks of paint
The legs I had at home were made of steel but in a silver gray color and to give them a slightly more industrial look the I spray painted black forging. On the other hand, the chair was made of plastic and blue in color, so I gave it a few coats of matte black water-based enamel and, later, some brush strokes with aluminum-colored acrylic paint to give it a metallic touch.
You may like the final result more or less, whether or not it is your style, but what is certain is that the original desk made up of furniture and elements that you can find in any DIY center or furniture store has nothing to do with the totally personalized desktop that has been achieved by decorating and tuning the initial elements.
what did you think of this industrial style desk? If you like this trend, you have already seen that you can take advantage of the furniture you have to give it a totally different look, you will get your DIY desk for much less than what industrial-style furniture costs, and with the added bonus that no two will be the same.
If you liked this post, you can see many more DIY tunings and ideas at .


