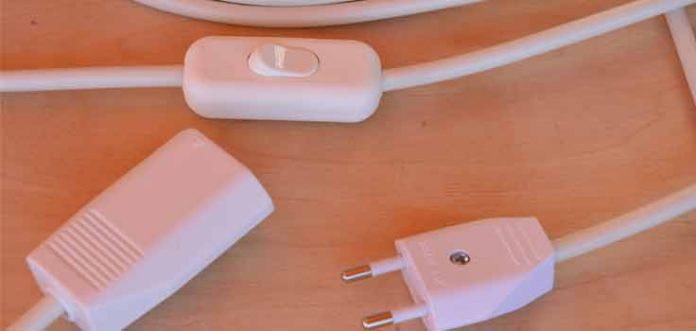
One of the basic tasks in home DIY is knowing how to replace and assemble electrical switches and plugs. Despite what it may seem, it is a fairly easy task. You just have to follow some recommendations.
Taking advantage of the fact that in a very short time we are going to publish a super cool craft, in which we will need to assemble a couple of plugs and a switch, today we are going to make a monographic tutorial on this topic.
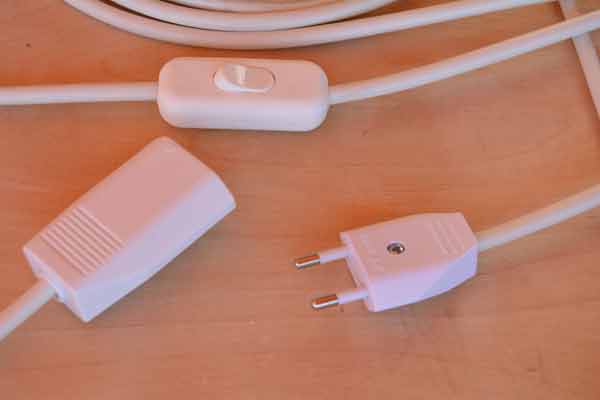
Surely it will be good for you to know how to replace and assemble this type of electrical element, since it is a task that is usually carried out relatively frequently in home DIY.
.
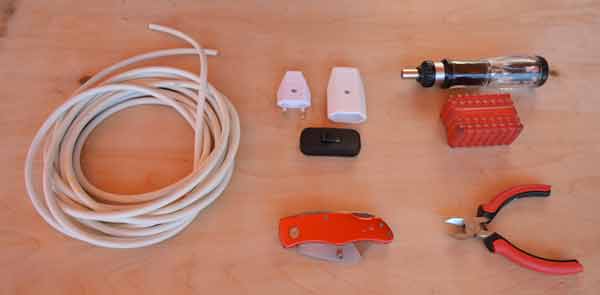
To make the assembly of switches and sockets we will need…
- Plug (male and/or female). In this tutorial we will use both.
- A switch.
- Cable.
- Screwdriver.
- Pliers.
- Cuter.
Before starting, I will give a piece of advice that will be useful for any electrical bric-a-brac:
If what you are going to do is a replacement, do not forget to disconnect the cable from the electrical network. Since, otherwise, no matter how careful you are, you are guaranteed the shock with a probability of 99%.
Especially in apparently easy jobs, like this one, extreme precautions must be taken since confidence will lead to making a beginner’s mistake.
Therefore… TURN OFF THE CURRENT!!
.
Video Tutorial for mounting switches and sockets
Here we include a video tutorial, done step by step, of the assembly of electrical switches and plugs. Do not miss it.
.
Installation procedure for switches and sockets
.
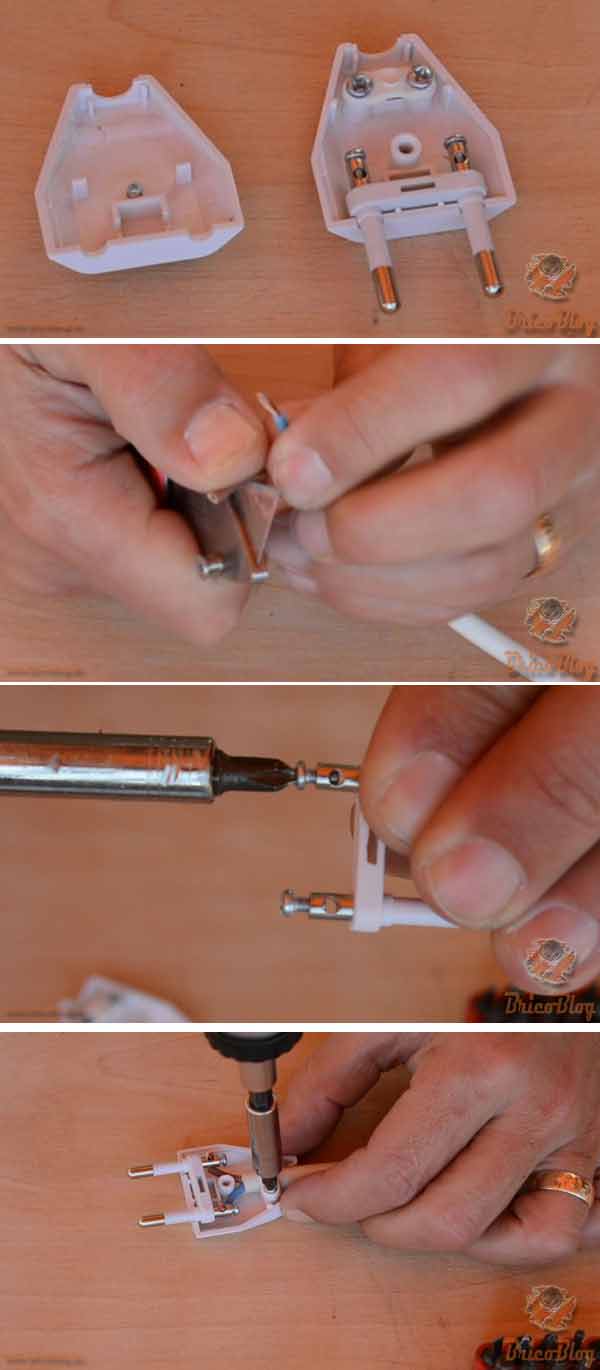
We’ll start with the male plug.
We disassemble the plug by removing the only screw that is visible. It has no loss.
Once opened, we calculate by eye the cable that we have to strip approximately.
With the cutter, we remove the insulating cover, and the sheath of the two wires. Here we must be careful not to damage the cable and, of course, not to cut ourselves.
Once the two wires have been stripped, or all three in case the cable includes the ground connection, we twist the filaments of each wire.
Now we loosen the little screw that has the two clips that incorporate the pins of the plug, until leaving the housing free, and insert each wire into the clips and tighten the screws.
We put the set of pins in place and, to avoid breakage due to an inadvertent pull, we fix the cable set on the stud, anchoring the two screws.
And finally, let’s close the plug again.
This one is ready. Let’s go with the next one.
.
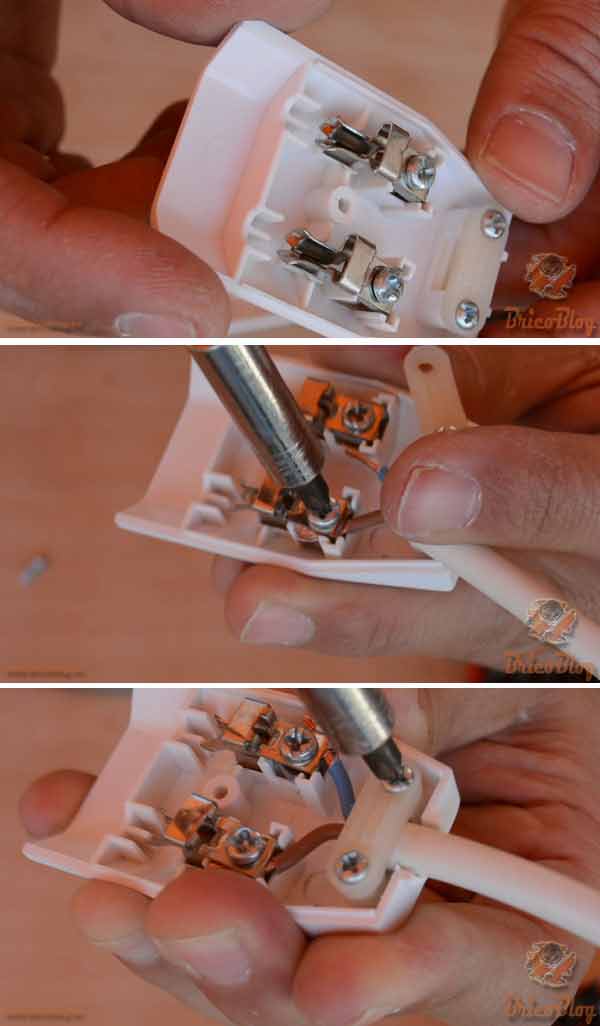
Now we go on the female plug.
In case it is a replacement, do not forget to unplug the other part of the cable.
Proceed exactly the same as before.
We disassemble the plug. As you can see, the system is very similar to the previous one.
We continue stripping the cable and, now, we have to insert the wires between the two metal plates of each clip, and tighten the little screws.
We also fasten the cable in the stud on the back of the plug, close it, and that’s it.
.
.
.
Finally we are going to mount a switch.
It is a portable switch, the kind that uses many of the elements of illumination home laptops. For example, night lamps.
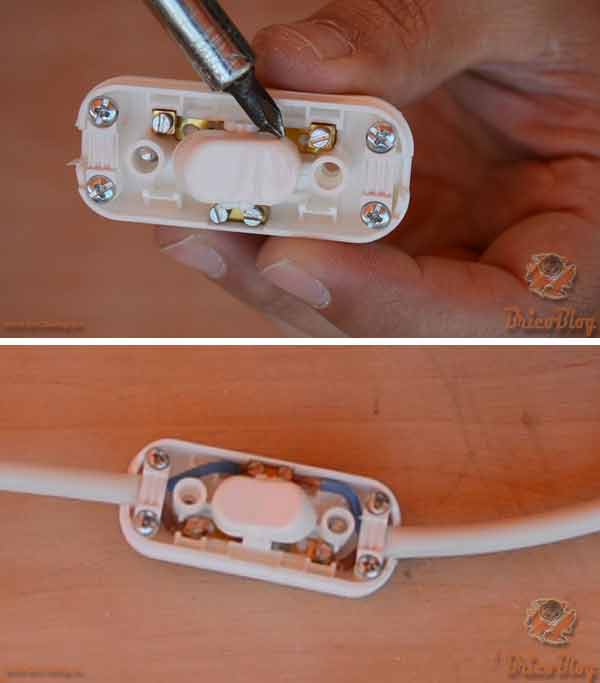 The assembly is somewhat different from the previous ones, but it is also very simple.
We open this component, removing the two screws on its back, and open it.
If you notice, what this switch does is cut the current from one of the wires.
Well, we cut the cable and, as before, we calculate the part that we have to strip, we strip the wires, we twist them, we loosen the little screws of the connectors, we fix the wires by tightening the screws again, and we close the switch assembly.
Simple truth?
Stay tuned for our blog, shortly, we will publish a video tutorial in which we will create, step by step, an ideal craft for decorating children’s rooms.
You can follow us on our social networks, or by subscribing to the blog.


