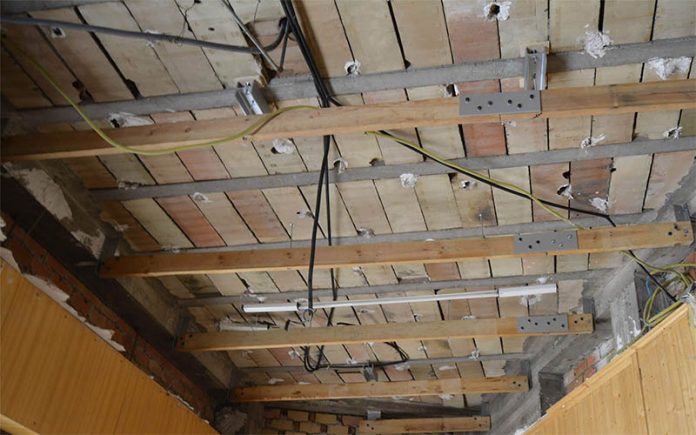
In the last two decades, tools, mainly electric ones, have gradually been introduced into the DIY sector, thanks to price adjustments, and to specialized department stores and the Internet, which have made them available to hobbyists. diy.
Nowadays it is possible to acquire any professional tool at prices that are not exorbitant.
Who was going to tell us 15 or 20 years ago that DIY enthusiasts would have the opportunity to include not only professional tools, but also certain heavy machinery in our projects.
This is the case of the lifting platforms, thanks to the possibility of renting for days.
Most work at heights require the use of this type of element. And the variety that we can find can be overwhelming. We have from small lifting platforms, to hydraulic ones, including towable, articulated, telescopic,…
Each job at height, depending on its own characteristics, may require the use of a specific platform. DIY enthusiasts can turn to the advice of qualified personnel that the rental companies of this type of machinery make available to us. In this way, we guarantee the choice of the appropriate platform.
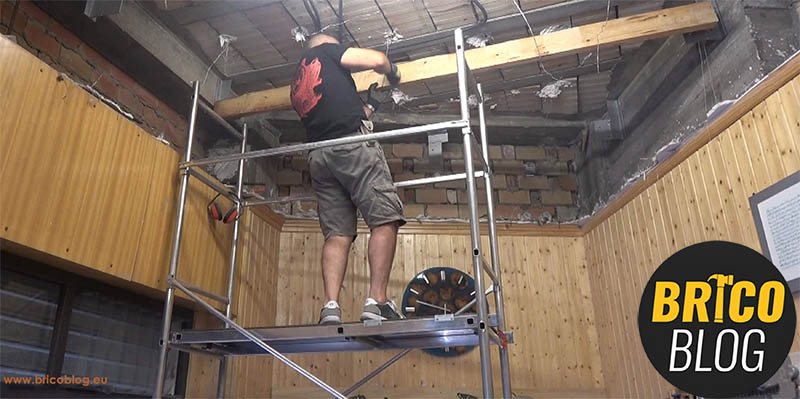
In the project that we are carrying out and that we will see in this article, we will use the simplest and most traditional platform: the scaffold. Our decision has been motivated by two reasons. On the one hand, it is a job done indoors. And on the other and above all, because it will take time to complete the project completely, so we have ruled out the rental option.
In this way, we will see how to install the wooden beams that will support the weight of the false ceiling that we will install soon.
It must be taken into account that the false ceiling that we will install is not simply made of plaster, but also incorporates acoustic insulation materials, so both the joists and their anchorage must have the proper resistance.
This is the 9th chapter of the series dedicated to the soundproofing of a room that we will use as a DIY workshop.
Note
Haven’t you subscribed to our YouTube channel yet? What are you waiting for?
Click the button below!!
And don’t forget to activate the bell, only then you will receive a notice when we publish a new video.
After a short break in the rehabilitation work of our DIY workshop, we will continue with the last task prior to the soundproofing itself.
In previous articles we have seen how to design our project, to manufacture the anchor plates, to install them on the concrete beams, to copy the angle and now we will see how to install the wooden joists, to which the false ceiling that incorporates the acoustic isolation.
previous chapters
If you missed any or all of the chapters leading up to this one, don’t worry. Below I include the links.
INDEX
1st Chapter – Introduction and programming of work.
2nd Chapter – Layout, plan and measurement of the current soundproofing.
3rd Chapter – Measurement, marking and drilling of the beams.
4th Chapter – Drilling and machining of metal parts.
5th Chapter – Welding and protection of anchor plates.
6th Chapter – Placement of the plates on the left side.
7th Chapter – Measurement of the angle of the opposing plates, welding and protection of these.
8th Chapter – Placing plates at an angle.
Video Tutorial for the installation of the beams
In just over five minutes, we show you how to carry out the installation of the wooden beams.
Complete procedure
The installation of the wooden beams does not have any complications. The only difficulty, which is not a small one, is to carry it out by one person. Other than that, it’s pretty simple.
Materials and tools
First of all we must prepare all the material and tools that we will need to carry out these works.
| TOOLS | MATERIALS |
. . . |
|
Presented the beam
Well, once everything is prepared, we get down to work. The first thing is to raise the wooden beams, one by one, to the scaffolding.
IMPORTANT
Extreme precautions. Keep in mind that you are at a considerable height. In my case, the slab is 4 meters from the ground.

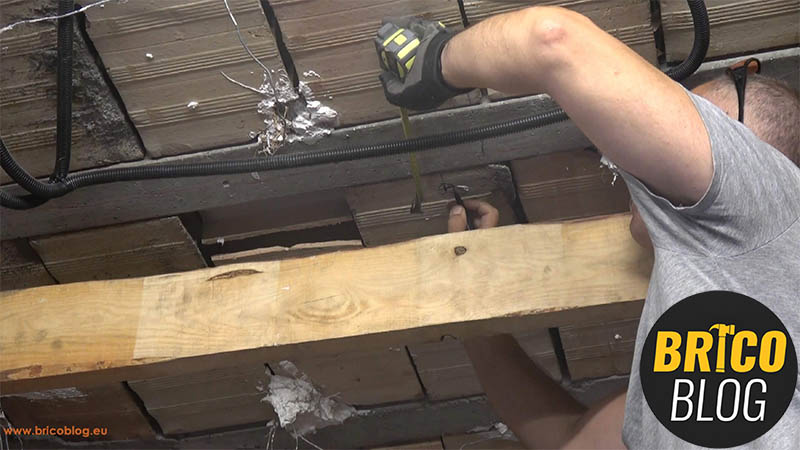
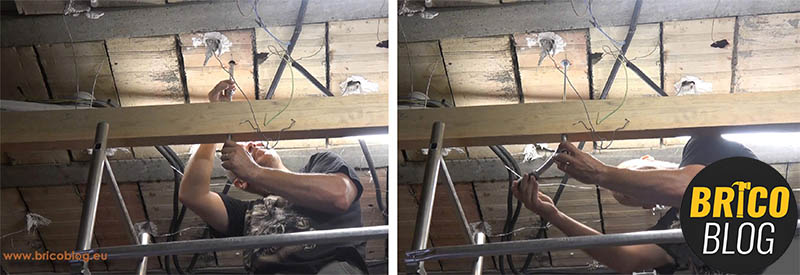
To place the wooden beam in the correct position, we will take advantage of the wires of the previous plaster false ceiling, to provisionally catch the joist.
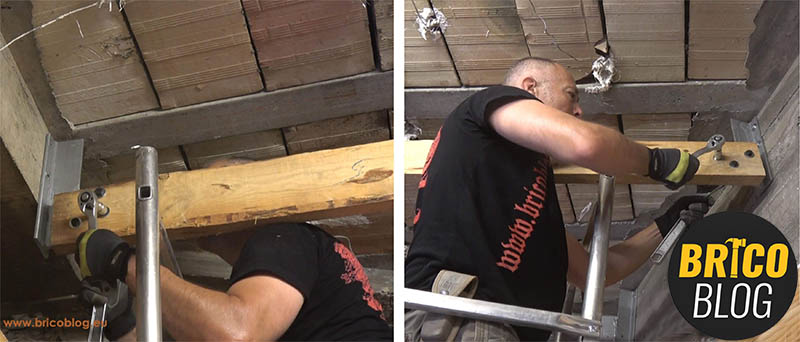
Next, we present it by fixing it on both sides to the anchor plates with clamps. And we are correcting the height of each side, until it is completely level and at the projected height.
Fixing the beam
Once in the final position, we drilled the wood through the holes that we had made, in previous chapters, to the anchor plates.
And we fix it with three 10 mm diameter steel through screws, tightening them well.
reinforcing the beam
Although these beams have great resistance and are capable of supporting important weights, we are going to reinforce them.
Every 1.20 m or 1.40 m approximately, we will anchor them to the slab by means of tilting studs like the one that appears in the photo.

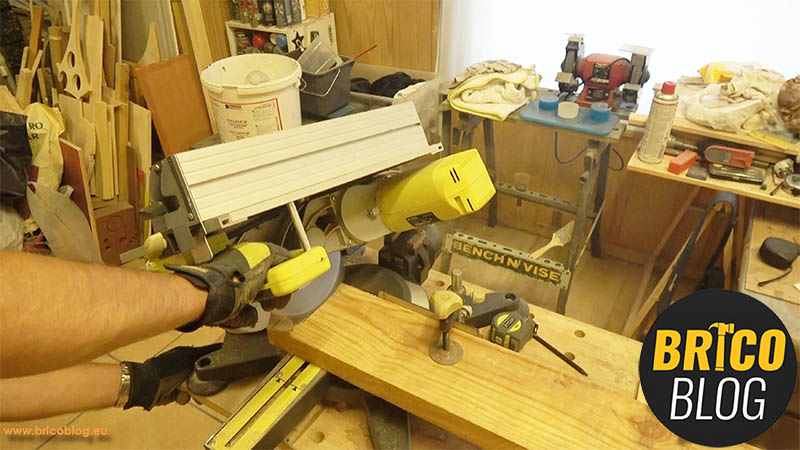
The bolt of these plugs, which do not give the length we need, we will have to replace them with threaded rods cut to size. For this task we will use our angle grinder.
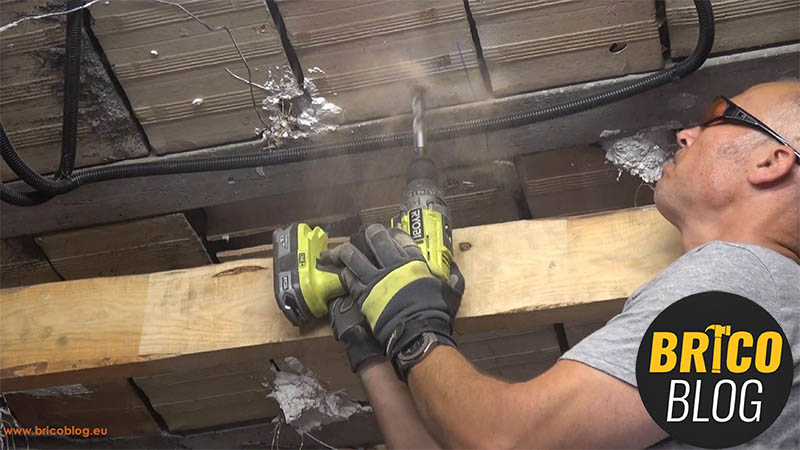
The anchoring consists of passing through the wooden beam with the rod.
Insert the tilting plug into the slab that we have previously drilled.
Vascular the heel, remaining horizontal. And we “tied up” the entire fixing with three nuts.
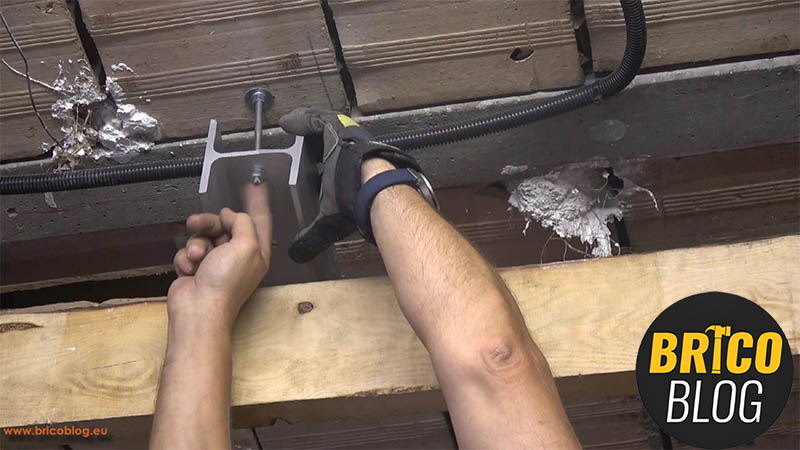
In the event that one of the wooden beams coincides with a concrete beam, we will interpose a steel H-profile between the two, which will be anchored to the slab with two tilting studs, one on each side of the concrete beam.
Lengthening the wooden beams
The wooden beams that we are handling have a length of 3 meters. However, there are areas of the premises where the “light” is higher.
Therefore, when we are presented with this “problem”, we will solve it in the following way.
We will join two wooden beams, cut to size, by means of a powerful connection.
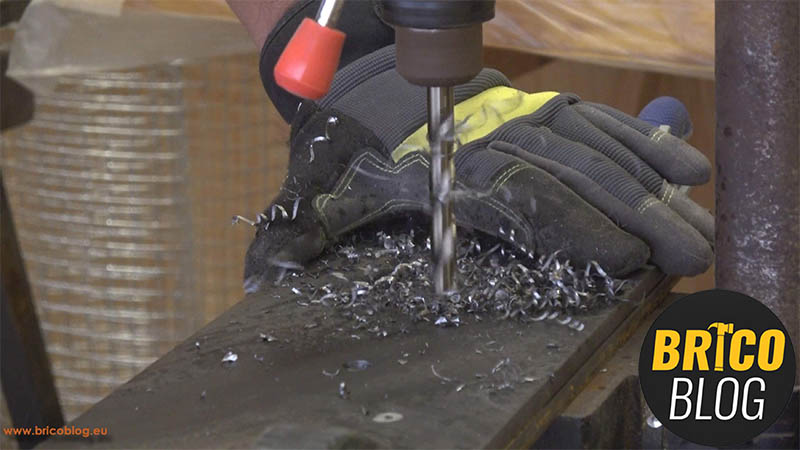
For which we will use two steel plates, one on each side, with a thickness of 8mm.

We have to drill and galvanize these plates, to guarantee that they will not degrade over time.
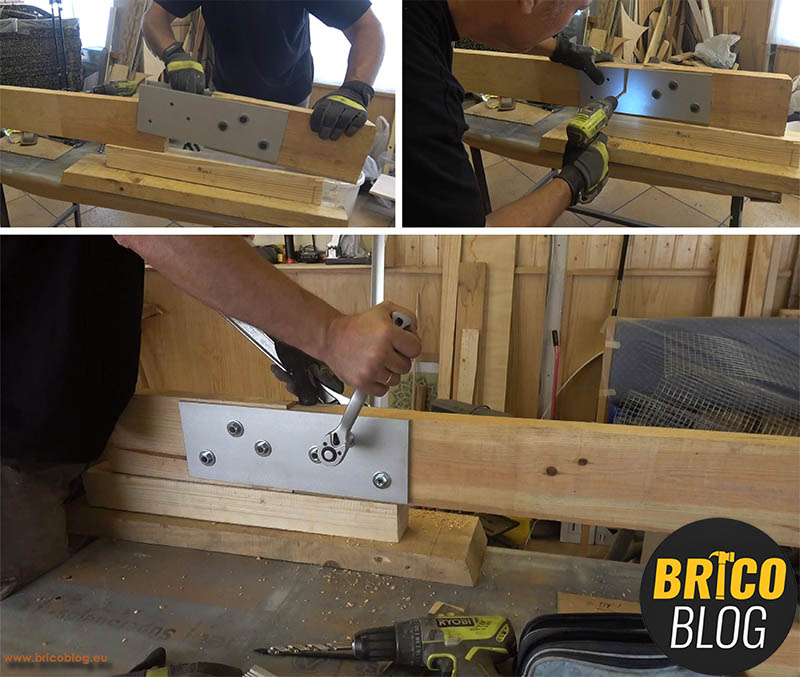
For galvanizing, we will use Galvazinc, a cold galvanizing product. This product, being a spray, provides a cold galvanizing treatment in a comfortable, fast and clean way.
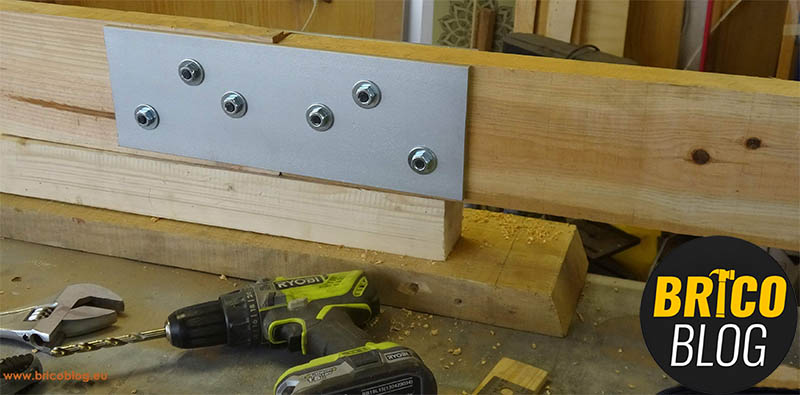
Once the plates have been prepared and the wooden beams have been cut, we will firmly join them with through screws, forming a single element.
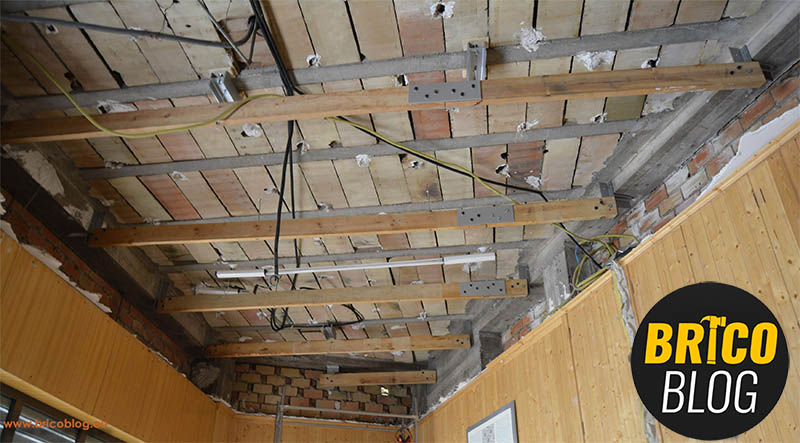
Well, we already have all the wooden beams installed.
In the next chapter we will work with soundproofing materials. But, for this, first I have to remove all the wooden frieze from the walls, and prepare them.
See you soon!!
.


