In this article I will tell you about a very affordable and reliable solution to take 100% of the contracted bandwidth to any point in your home or business.
How? With the plastic optical fiber.
Keep reading, because I’m sure you’re interested.
In reference to what I was saying, Wi-Fi technology, by eliminating cables, provides us with great and undoubted comfort and freedom. But, in this life, everything is at the cost of something. Regarding Wi-Fi, the sacrifice is to lose part of the bandwidth.
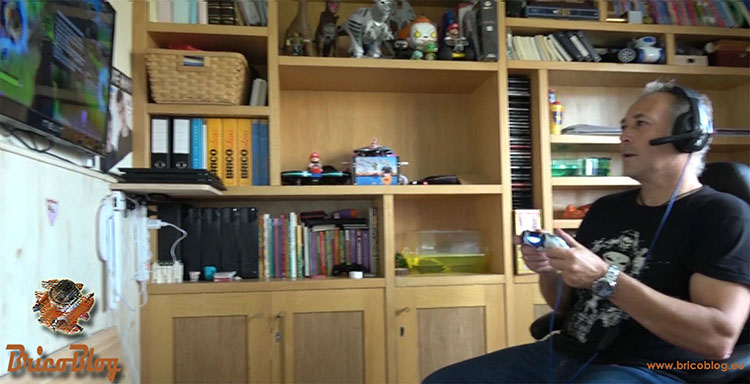
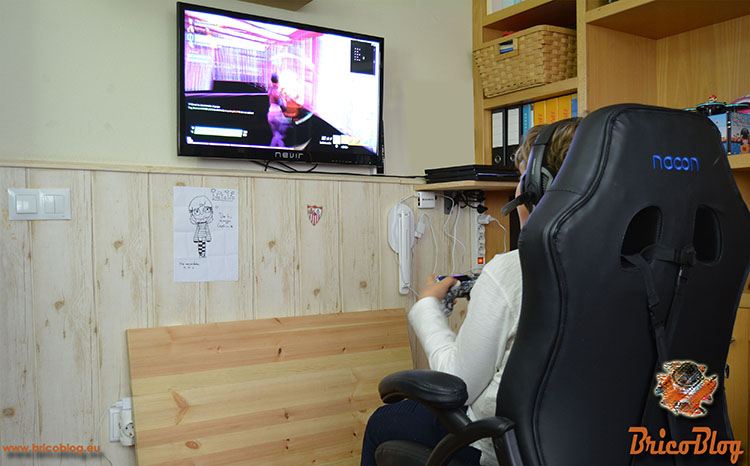
Today, the best option for data transmission is fiber optics. Not only referring to computers, which also, but to video games. The software used by the latter is so powerful and heavy that it requires very high-speed data transmissions for its operation to be stable and fluid.
Here the Plastic Optical Fiber becomes essential.
However, the installation carried out by all providers only reaches the router. From there, it’s up to us.
The solution would be to extend it through the house. And, precisely, this is the great stumbling block that most of us mortals stumble upon, me the first.
What is the reason?
On the one hand, you have to know how to carry out this type of installation. An installation of this type is not carried out by just anyone.
And, on the other hand, to undertake it, it is necessary to have some specific tool for it.
But, before continuing, let’s stop for a moment to see, succinctly, what fiber optics is.
What is fiber optics?
Next we will see what fiber optics is, as well as the differences between traditional and plastic.
traditional fiber optics
It is a transmission medium commonly used in data networks. It consists of a very fine thread of transparent material, which can be glass or plastic materials, through which pulses of light circulate which, in reality, are the transmitted data. In addition, this form of data transmission makes the internet much faster, both in uploading and downloading data, and guarantees that these speeds are stable.
The light source can be a laser or an LED.
Fiber optics are widely used in telecommunications, since they allow large amounts of data to be sent over long distances and at high speeds.
It is the transmission medium par excellence, because it is not affected by electromagnetic interference.
plastic optical fiber
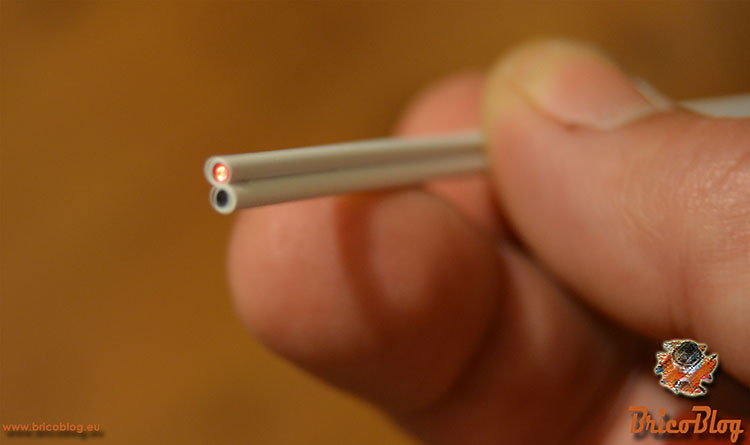
Plastic optical fiber, also called POF, stands for Plastic Optical Fiber, is a type of optical fiber made essentially of plastic. It is an economical alternative to traditional fiber optics.
One of its main characteristics is its great flexibility, unlike traditional fiber optics, which are much more rigid. This makes it possible to install it in homes.
Very widespread in automotive and aeronautical electronics, plastic fiber optics is beginning to be implemented as a new technology for domestic use, since it emerges as an economical and easy-to-install solution.
One of its main advantages over the traditional one, in addition to all of the above, is that the latter is a delicate and expensive material.
Plastic Fiber Optic Installation
Well, once you know roughly what fiber optics is and the differences and similarities between traditional and plastic, we will see step by step how to install it ourselves.
In this sense, ACTELSER has made an important contribution by designing a plastic fiber optic system that practically “installs itself”. This is the Snap Data kit.
No additional tools, electronics, or DIY skills are required.
Actelser has different options. Most basic kits for medium-sized homes. Other superiors, intended for businesses and small companies. And the one that we are going to see in this article, which is a medium kit, for larger homes or with two floors.
Installation Video Tutorial
Regardless of the fact that I leave you, in detail, all the necessary instructions, in the video tutorial you have much more graphic and clear information.

.
For the first time in the history of our YouTube channel, we wanted to introduce a note of humor, or at least something funny, between the technical and rigorous information, including a couple of outtakes at the end of the video.
.
tools and materials
Below I collect everything necessary to perform the installation:
- A cable guide.
- Insulating tape.
- A screwdriver.
- plastic fiber optics.
- And the Snap Data kit.
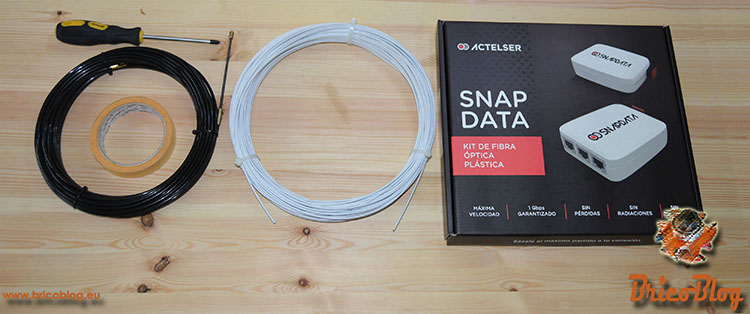
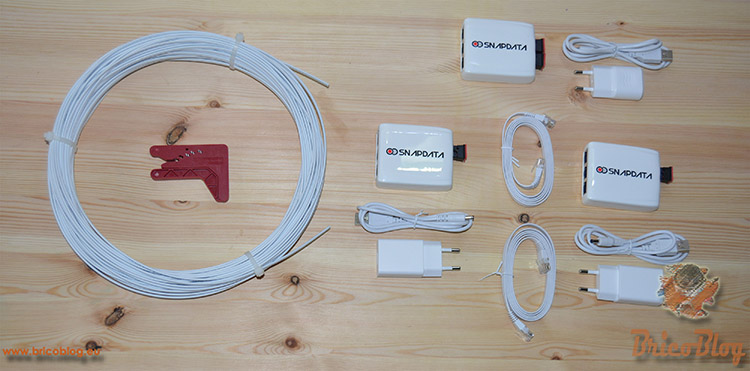
Now we will see all the components that are part of this kit:
- three converters. One of them, distribution. And two other terminals, which will clone the signal in two new points.
- Power outlets for each of the converters.
- UTP patch cords, to connect our computers or other electronic elements, such as Smart TV, Play Station, etc., as well as the main converter to the router.
- And a special cutter for cutting plastic fiber optics.
1st Step – Preflight
This step is optional. However, in my case, before starting the installation, I wanted to carry out a preliminary check, to check what speed I get, and what is the one that I really have through Wi-Fi.
There are many free tools on the internet to perform this type of test. I have chosen, as I could have chosen any other, speedtest measurement tool.
So, we connect the computer directly to the router and do the test.
In the video tutorial you can see how the 600 Mb that I have contracted reach me by cable.
However, with Wi-Fi it is not the same. In this case, the bandwidth decreases substantially, especially when downloading data.
2nd Step – Putting the wiring
We can always resort to carrying it around the baseboards and door frames. The flexibility and strength of the plastic optical fiber, allows it. I, however, who am a cable maniac, have preferred to carry it hidden by the corrugated tubes.
Ok, let’s start with the installation. Let’s take a point to the game room and study. And another one upstairs.
We will begin by disassembling the we will begin to introduce the optical fiber. As I said before, this type of cable is not affected by electromagnetic interference, so, taking advantage of this advantage, we will carry part of the installation through the electrical wiring tubes, and the other through the antenna tubes.
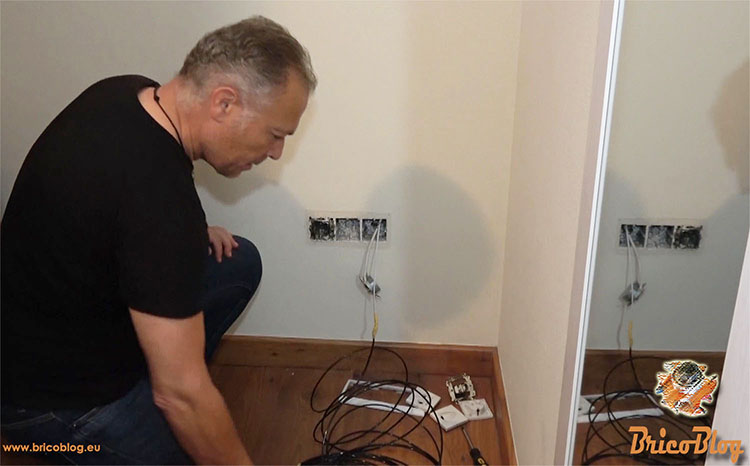
We put the grommet guide, and we pass it. Once removed from the other end, we tape the cable to the guide, and we pull until the cable passes.
This operation, carried out by two people, is much easier and faster. However, and as has been my case, a single person can also do it without any problem.
3rd Step – Connection of the distribution converter
Once all the wiring is installed, we have to mount the converters. Although it may not seem like it, this is the easiest part.
We will start with the main or distribution converter.
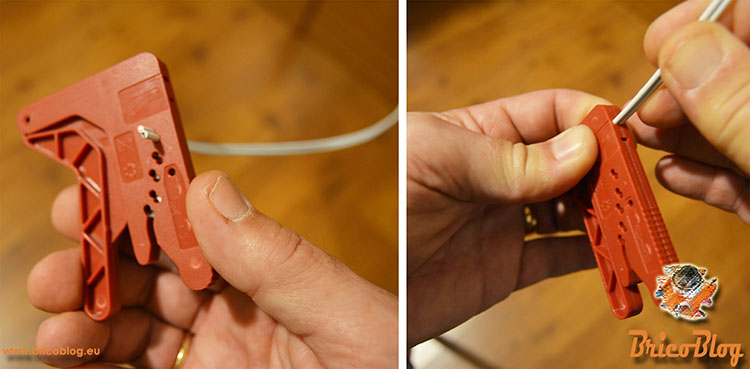
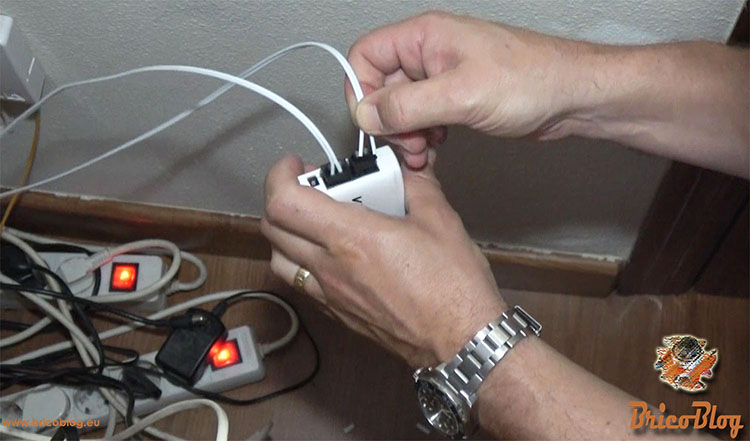
The first thing is to prepare the cable. To do this, we must give a clean cut to the end of the cable. And, on the other hand, separate the two wires enough so that the connection is correct later.
For this, we must use the cutter included in the kit, since it performs the two indicated actions with great precision.
Next, we introduce, through the back of the converter, the fiber that will connect the two new access points, and we push the clips inwards, so that the cables are well anchored.
Finally, we connect the converter directly to the router, as well as to the electrical current.
4th Step – Connection of the final converters
Once the previous step is finished, we go to the other end of the plastic fiber optic cabling that we have installed. In other words, we go to the rooms where we are going to install the new access points.
Before doing anything, we notice that one of the two wires flashes red. This cable will be connected to the Receiver output, which is identified on the converter with an “R”. And therefore the other thread will go on the remaining connection.
However, there is no problem if you reverse the wires, since the device has a LED on the back that indicates whether the polarity of the wires is correct or not. When the optical fiber is well connected, this indicator turns green. Otherwise, it stays off.
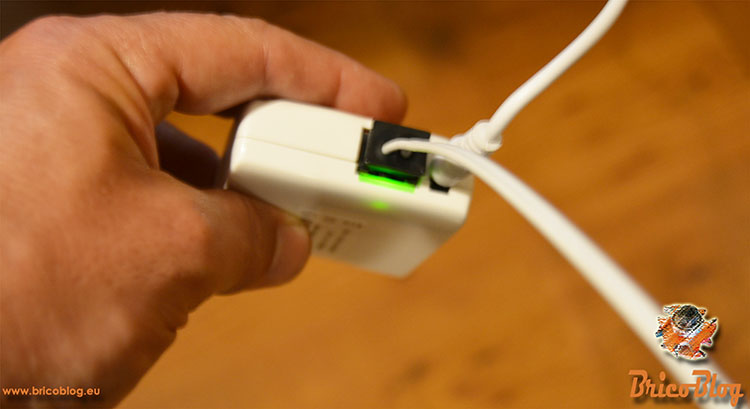
Therefore, if you make a mistake, you just have to extract the two threads, invert them and insert them again.
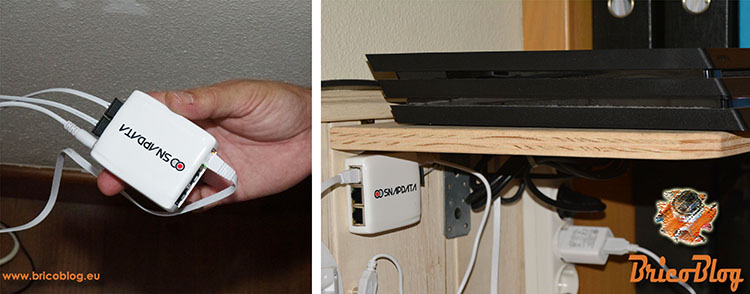
Having made all these clarifications, before connecting the fiber, we have to connect the converter to the electrical current.
From here, we proceed as indicated in the previous step. Only this time, instead of two fibers, there will be only one.
We will proceed exactly the same in the new access points that we want to install.
5th Step – Final check
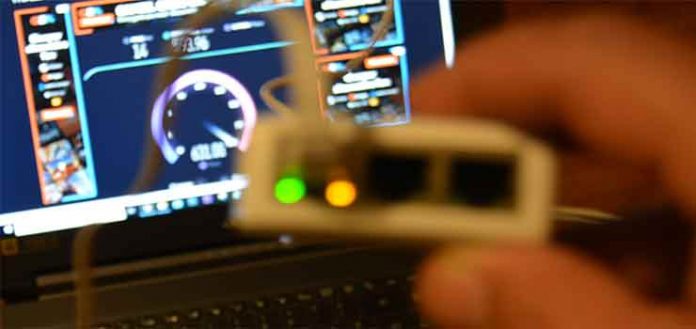
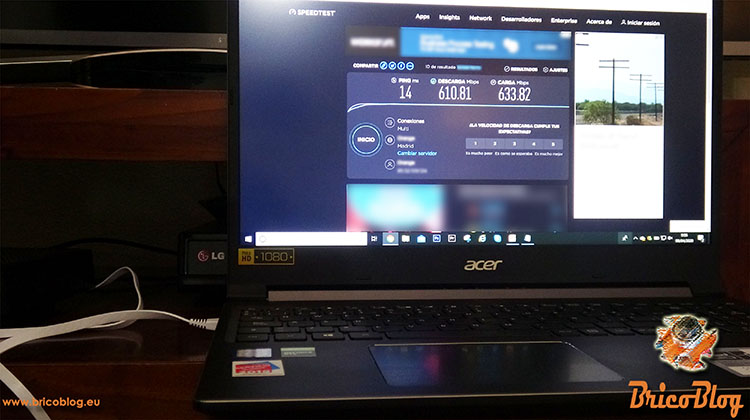
This last step, like the first, is optional and only serves to confirm that our plastic fiber optic installation is well done, reaching the new access point with the same speed that we have in the router itself.
As you can imagine, it consists of doing, from this new point, a speed test just like the one done in the first step.
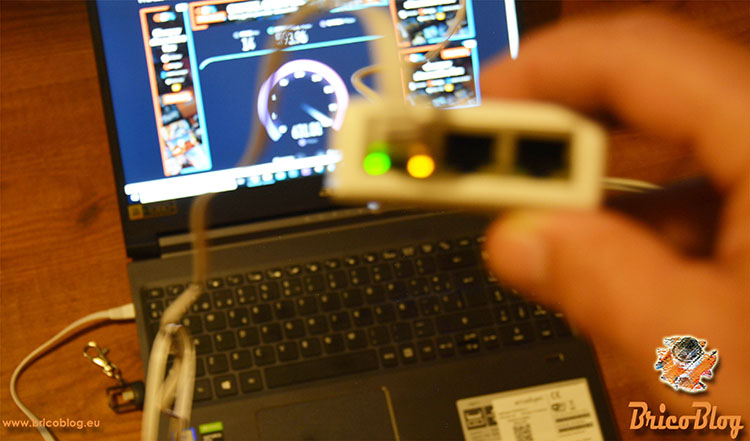
It can be seen in the image how the speed that arrives is exactly the same as the one that enters our router.
Where to buy the Plastic Optical Fiber?
You can buy it or, just get more information, both on the website of Actelseras in the Marketplace of amazon.
Below are the links to the Snap Data Plastic Fiber Optic kits.
This is all. As you have seen, this system is super innovative, super interesting, economical and, furthermore, its installation is not very difficult.
.


