

Among the different methods that exist to transfer images onto wood, the one I show you today is undoubtedly one of the fastest and simplest. Do not miss this step by step to learn how to do it.
Image transfer is a technique for decorating and personalizing objects, accessories, furniture, etc. It basically consists of transferring an image from a photocopy to a support of wood, glass, ceramic, fabric, etc. The most common ways to make a transfer on wood are:
- Applying a gel medium or «photo transfer» on the photocopy and removing the cellulose from the paper by moistening it and rubbing it.
- Using a marker to dissolve the print toner and transfer it onto the surface.
With both methods a good result is obtained, but without a doubt with the second the transfer is carried out in a much faster and easier way, as you will be able to verify below.
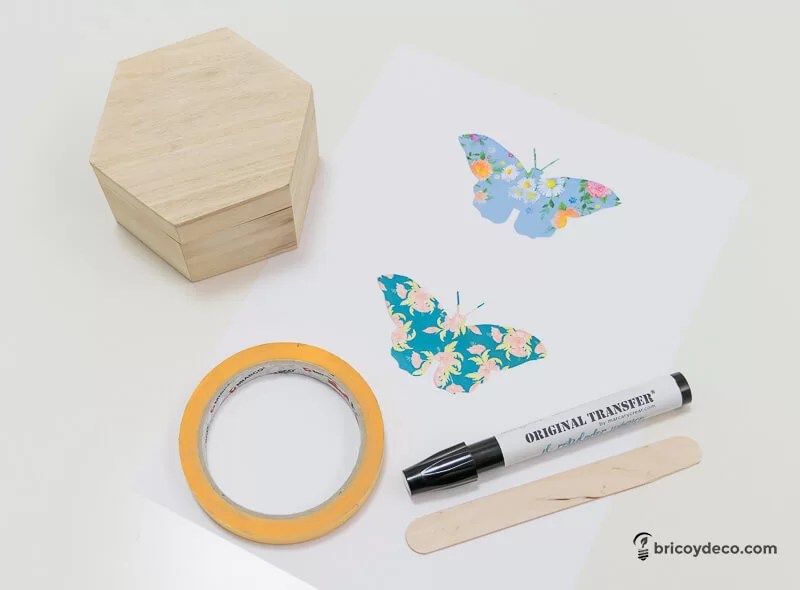
Materials for transferring images on wood
- A photocopy of the image. It can be in black and white or in color, but the main thing is that it be a photocopy or printing with toner ink.
- Original Transfer Marker. This marker contains a special liquid that dissolves toner. It can be purchased at this link.
- Spatula to smooth and fix the ink on the support. Along with the marker this accessory is incorporated.
- Masking or masking tape to fix the image and prevent it from moving.
Transfer images step by step
By following these steps and tips you will be able to transfer an image onto wood in just a few minutes.
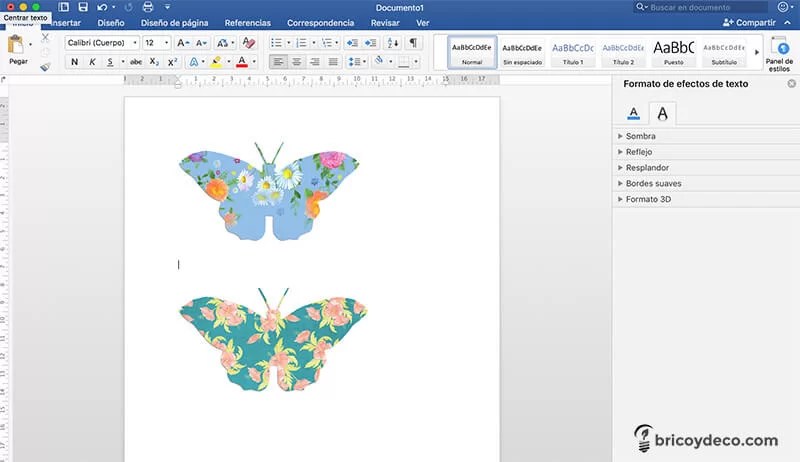
Optimize the image
If the image that we want to transfer is in color, first of all we will have to increase your saturation. Keep in mind that with the transfer you always get slightly softer colors. For this reason, it will be necessary to “raise the colors” to improve the transfer.
For this, there are different programs and free online applications such as Microsoft Word, Fotor or Canva.
Prepare the support
If the wood is varnished, it is advisable pre-sand the surface with fine-grain sandpaper. In this way, the porosity is increased and the liquid released by the marker is quickly absorbed.
On the other hand, this marker can also be used on other materials such as fabric, paper, ceramics, melamine, etc. In addition, I have obtained a good result on surfaces painted with acrylic resins.
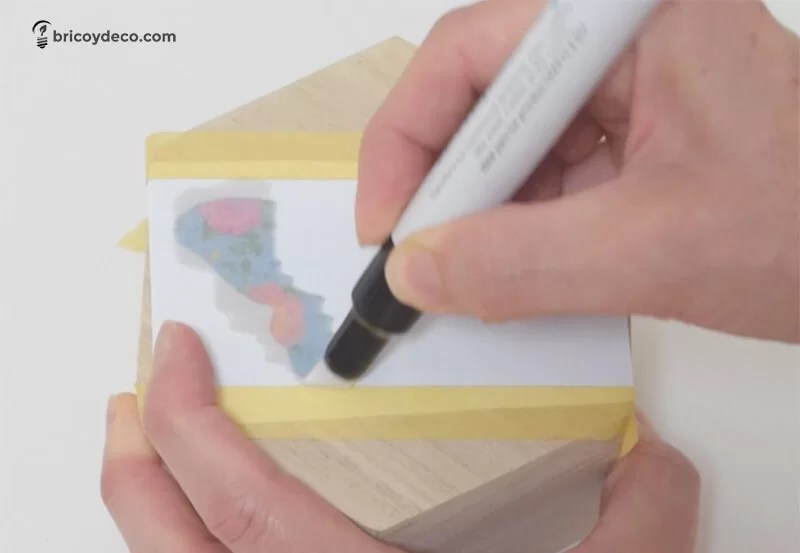
Fix the photocopy and mark
The image is then placed in contact with the surface to be transferred and fixed with masking or painter’s tape. It is recommended place the tape only on one sideas this way you can easily lift the image to see if it has been transferred correctly.
Next, you have to pass the marker on the back of the photocopy, as if we were painting. To save product, it is enough to pass it once.
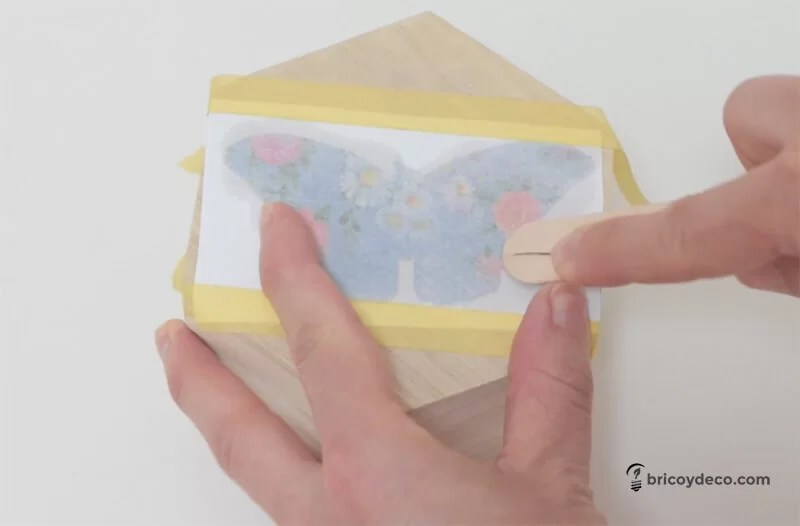
Rub with the spatula
After the previous step, the image will still not be transferred. To do this, you have to rub with the spatula especially the drawing.
Firm pressure must be exerted, but be careful not to tear the paper. When finished, one corner can be lifted to check if the image has been transferred correctly. Otherwise, it will be insisted again with the spatula.
In the following video tutorial you can see all the detailed step by step:
Have you ever tried transfer images onto wood or any other support? Did you know this method using the Original Transfer marker? As you may have seen, with it you can make transfers quickly and easily.
If you liked this post, you can find more craft tutorials, as well as DIY ideas and projects at .
[elfsight_youtube_gallery id=»1″]


