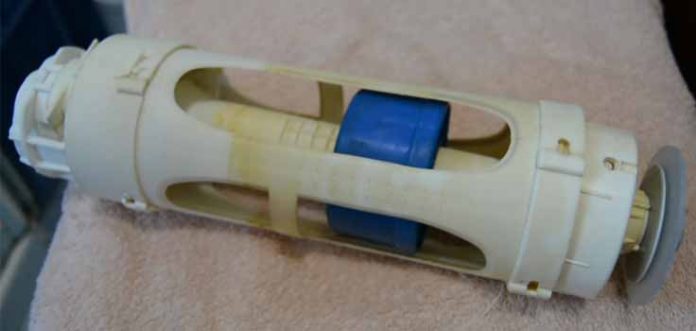
The repair of a cistern is an issue that sooner or later we will have to face. Mainly those that refer to small water leaks.
The reason is very simple. The cistern emptying mechanism closes hermetically with a gasket of silicone. This, with the passage of time, deteriorates, losing elasticity and deforming, thus allowing the passage of water, no matter how small.
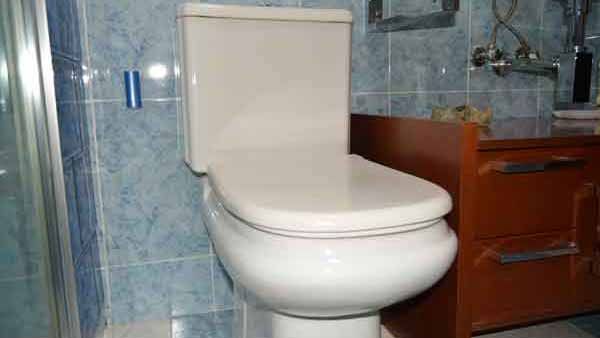
In addition to how annoying the sound of the insistent droplet can be in the silence of the night, it is also and above all a waste of a scarce good, such as water, which we must take care of if it were gold. making efficient use of it.
If you want, you can see in the following link a simple trick to save water in the toilet.
The first reaction, faced with the unknown, would be to call a plumber to solve the problem for us.
I am sure that when you see this tutorial, you will change your attitude by doing this simple repair yourself. As you will see, it is about replacing the gasket that we have referred to, which is still a simple silicone washer. Here we show you all the details.
VIDEO-TUTORIAL
Cistern repair details
When you notice that the toilet is dripping insistently, you will know that the water leak is caused by the deterioration of a silicone gasket that closes the cistern’s evacuation mechanism.
Therefore, to solve the problem, we will have to replace it with a new one.
Cistern repair is much easier than it may seem.
The first thing is to close the tank filling stopcock. And then we press the button to empty it completely.
Then we remove the button and the lid of the cistern.
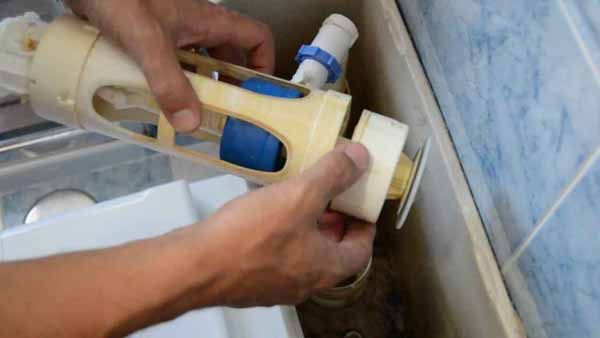
We extract the mechanism with a simple and small twist.
If you look at this element, it looks better in the video, you can see that it is embedded in 4 tabs located in the part that is anchored to the container.
To remove the silicone gasket that causes the water leak, we have to remove the plastic screw that holds it.
To do this, you can use a fixed wrench, adjustable wrench or even pliers.
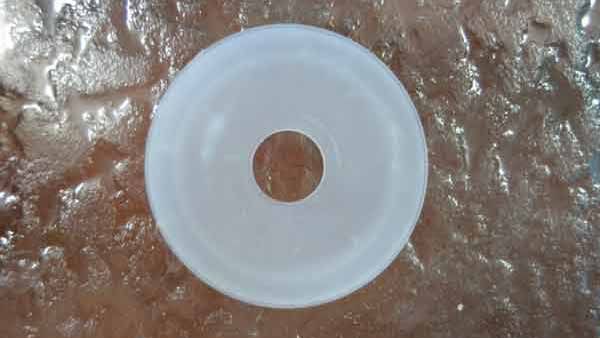
Once the joint has been disassembled, we take it to any plumbing store or store and buy the same one.
To place the new one and get the cistern repaired, we have to do exactly the same process that we have done, but in reverse. Namely:
We insert the gasket into its place, tighten the plastic thread. Be careful with this, as it is made of plastic material, you could break it if you force it too much.
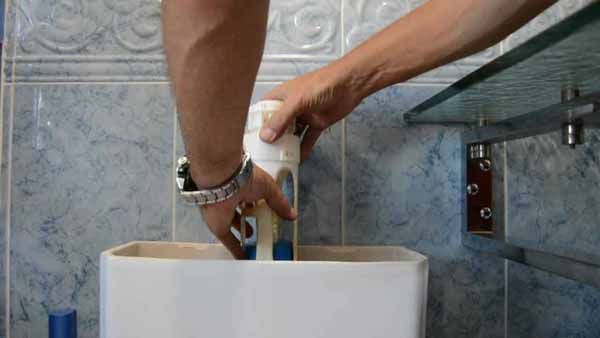
And now we introduce the whole mechanism in its location. We give it a little twist, in the opposite direction than when disassembling it. Turn without forcing, until you feel a click.
If the mechanism is a double push button, remember to put it in the same position it had.
It is marked. On one side the total discharge of 6 liters, and on the other the partial discharge of 3 liters.
Before putting the lid on and completing the repair of a cistern, we must check if there is any problem.
Therefore, we open the stopcock, we wait for the cistern to fill, and we see that we have eliminated the leak, as is the case.
However, if it continues to leak some water, try flushing. In this way, it is possible for the closing mechanism to be correctly housed in its place.
Finally, it only remains to put the cover and mount the button.
Clever!! The repair of a cistern has been carried out. And best of all: For €2 and 10 minutes of our time, we have done a repair that would otherwise have cost us €40 or €50 for the shortest part.
Did you find this article helpful? Then share it on your social networks.
bricoblog


