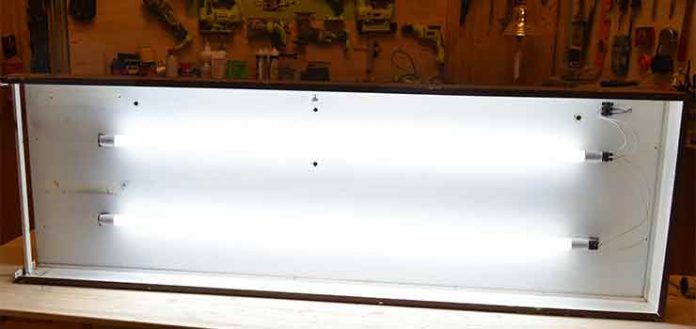
Today we are going with the second tutorial for the recovery of an old and damaged light.
We will see how to replace the obsolete fluorescent tubes with the new LED tubes, whose consumption is much more efficient. than the first.
Carrying out this substitution is not complex at all, but a couple of details must be taken into account, which we will see below.
A few days ago we saw how to put the vinyl, easily and impeccably, on the methacrylate sheet. And we told you the secret that professionals keep. If you haven’t seen it yet, you can do so by clicking on the following link Apply adhesive vinyl like the professionals.
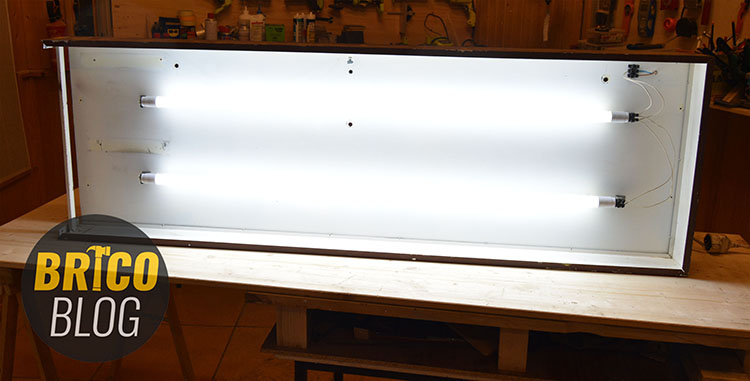
Well, today we will see how to replace the previous fluorescent tubes with the new LED tubes.
If you want to know more about LED lighting, we invite you to see this other article Advantages of LED lighting, very interesting by the way.
Fluorescent VS led
The traditional lighting tubes, the fluorescent ones, required a transformer and a starter to work.
To make life easier for the user, LED tube manufacturers include a special primer with the tube. Which, actually, is not a primer as such, but a fuse. Making it possible for the tube to work through the transformer that the fluorescent tube had.
In this way, only one tube would have to be replaced by the other, as well as the primer for the fuse.
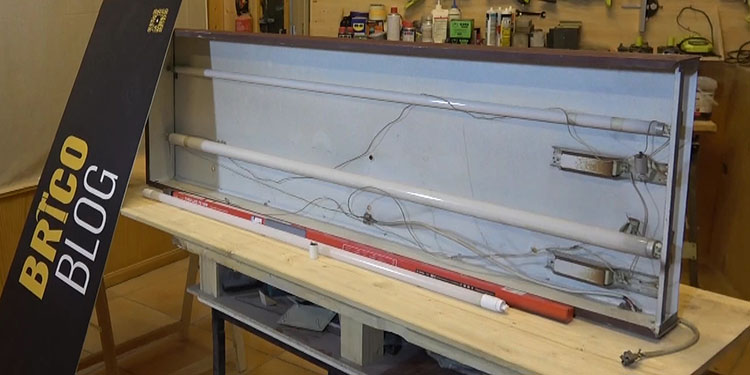
However, there is another more efficient way. I tell you.
The LED tubes It has the ability to work at 220V without any problem. For this, we only have to eliminate the aforementioned intermediate elements, connecting the LED tube directly to the electrical current.
Therefore, if we eliminate the transformer, we will also eliminate its consumption. That is why we say that this way of mounting the tubes is even more efficient than the previous one.
LED tube assembly video tutorial
As usual, before getting into the matter, we leave you the video tutorial of this project so that you can “feel” the process in great detail.
Replace fluorescent tube with LED tube
Well, now we are fully into the writing of the step by step of this type of work for which, by the way, no knowledge of electricity is necessary.
You just have to have common sense, so before carrying it out, we will have to cut off the electrical current to, in this way, work in complete safety.
1st Step – Removing the old installation
So we are going to disassemble the entire interior of the light. Wiring, transformers, primers, splice tabs and tube supports.
Once this is done, we will take the opportunity to clean the interior. Remember that our goal is to make it look like new, both inside and out.
2nd Step – Assembly of the supports
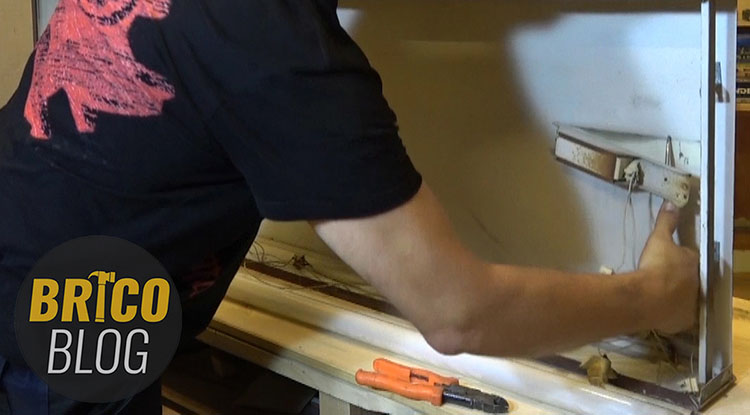
The lighting tubes need a support at each end, to be able to fix them.
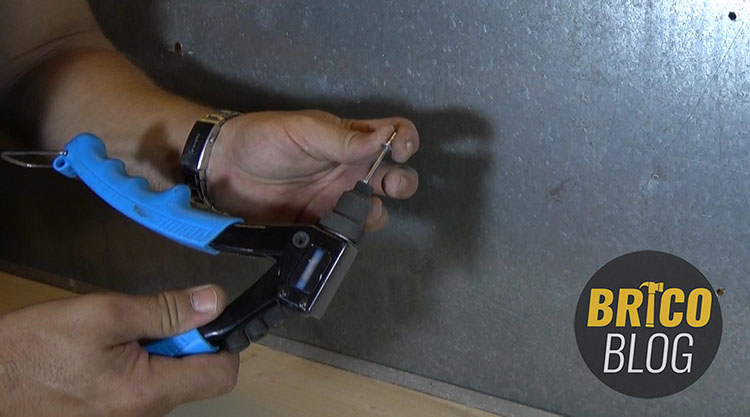
These supports are nothing more or less than small metal plates that are riveted to the inner surface of the light.
As, in our case, we are going to move the tubes a little, we have to make a hole for each support, and fix it with a rivet.
3rd Step – Wiring Installation
Calm down. The assembly of the wiring is not complicated at all. You will see.
We will fix a main splice tab, to which we will take the current input wiring, as well as output to the LED tubes. And two additional tokens, one for each tube.
As simple as stripping the ends of the cables, twisting the wires, inserting them into the splice tab and fastening with the little screw.
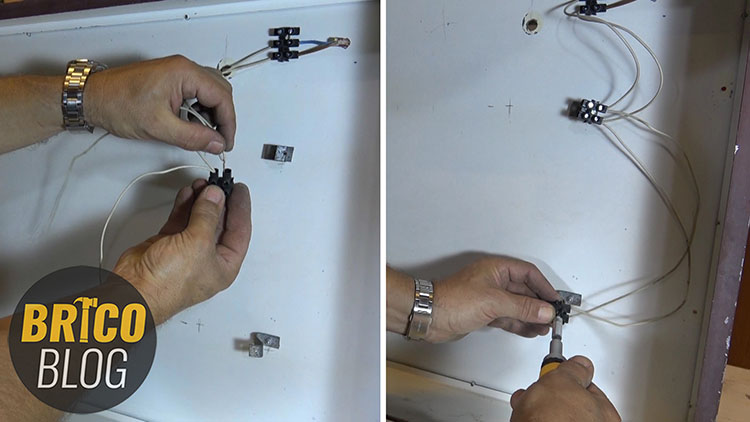
The wiring for the first tube comes out of the main card and, from this, it goes out to the other.
On the right support in our case, but which could also have been the left one, we fix the 2nd and 3rd splice tab.
Clarification
How to know which of the two ends of the LED tube we should connect to the current?
Very easy. You just have to look at the printed text, like the one in the following photograph.
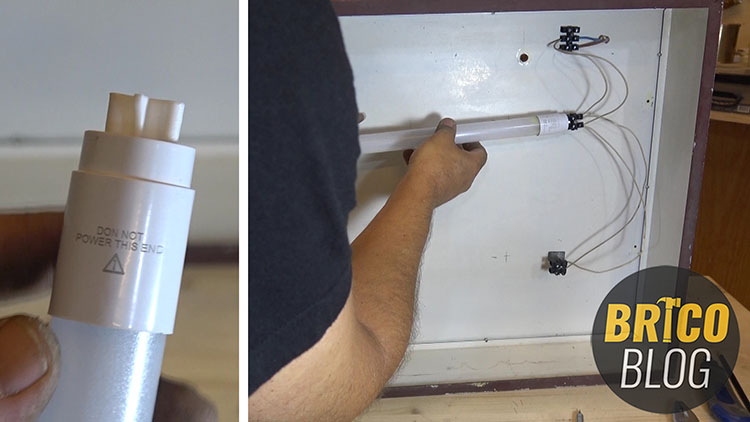
Once the chips are fixed, we introduce the two pins of the LED tubes and imprison them as we did in the case of wiring.
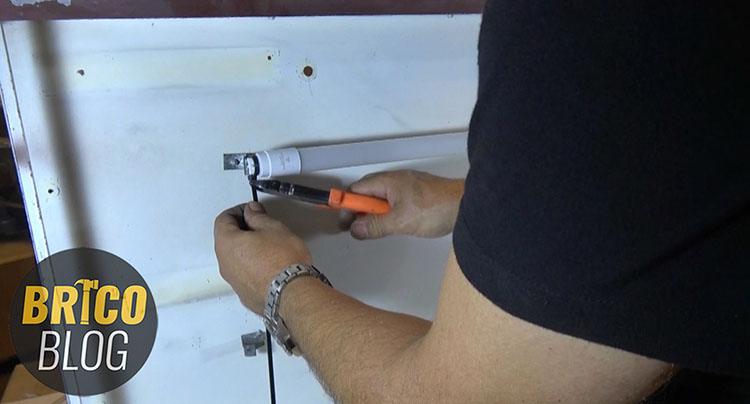
We will simply attach the other end of the tube to the support with a flange, without removing the protection it brings.
So far nothing complicated, right?
Well this is it. We’ve already finished. Now we will only verify that it works correctly.
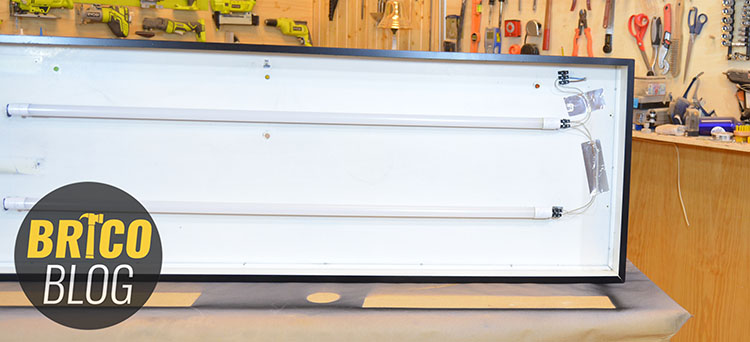
As you can see in the photo, we have simplified the electrical installation as much as possible.
Here I leave the link to the third and last part of the recovery of our illuminated sign: Professional painting of metals.
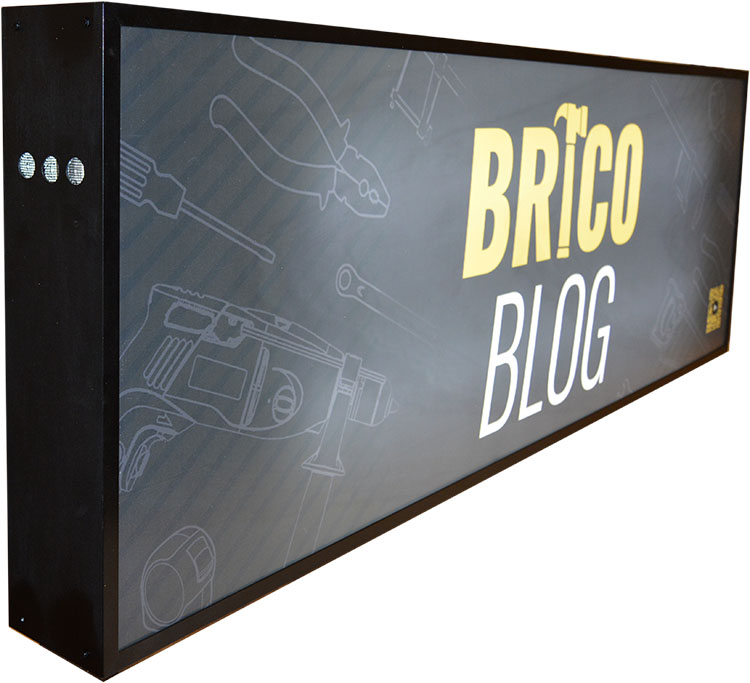
Now we only have to give a review to the outside of the casing, to leave it with a completely professional finish.
.


