

Have you ever thought that a coin could be transformed into a ring?
With certain tools and a little skill, you could too.
Surfing the net we have come across a craft, which in our opinion has seemed exceptional. It is about transforming a coin into a ring.
This craft is not about recycling, which we like so much at BricoBlog, but it is about reuse. Since reuse is to use something again, with the same or different purpose for which it was created.
Although it must be said that all the comments of this type of craftsmen coincide in saying that to obtain a good result, a lot of practice is necessary.
If you are an intrepid DIYer and you like to try different techniques and disciplines, be sure to check out this article. We are sure that you will enjoy both reading it and practicing it, regardless of the result you obtain.
Let’s see the necessary tools and the steps to follow.
Materials and tools needed:
- Copper or silver coin.
- Hammer, preferably nylon.
- Awl.
- Column drill and drill bits for metal of different diameters.
- Torch or fire.
- Holding tweezers.
- Ring gauge mandrel.
- A couple of pieces of leather.
Process:
Step 1: The first step is to locate the coin that we want to use to make our ring.
Step 2: We take the necessary measures to mark the exact center of the coin. We place the punch in position and give a sharp blow. In this way, when the bit starts to turn it will not move from the correct position.
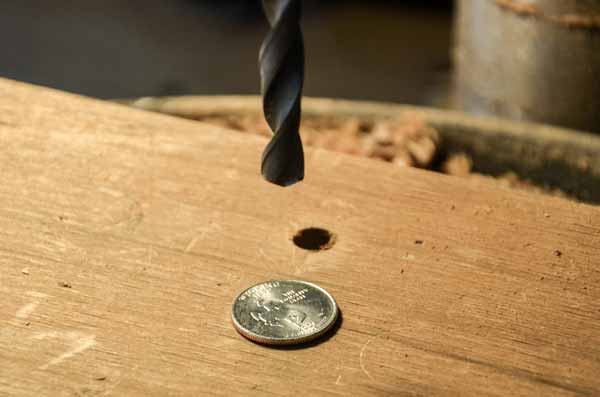
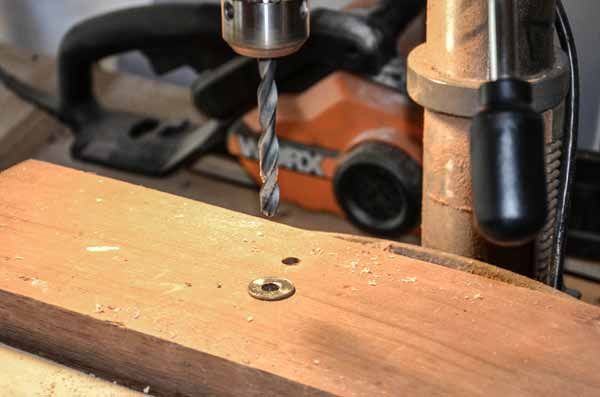
Step 3: We put the coin in position, insert the drill bit into the drill press and start drilling. Hold the coin firmly so it doesn’t move.
Start with a small diameter drill bit, say 4mm. Once the coin is drilled, change the drill bit for a slightly larger one and drill again. Continue like this until you get the desired size hole. In this way, it will be easier for you to drill and the result will be much cleaner.
The coins are not usually very hard due to the alloys used, however, if you notice that the bit gets hot, refresh it from time to time with water or a drop of oil.
Step 4: Now we have to temper the currency. For this we will use a torch or we can also use a fire, for example, a wood-burning fireplace.
In both cases, be careful not to melt the coin.
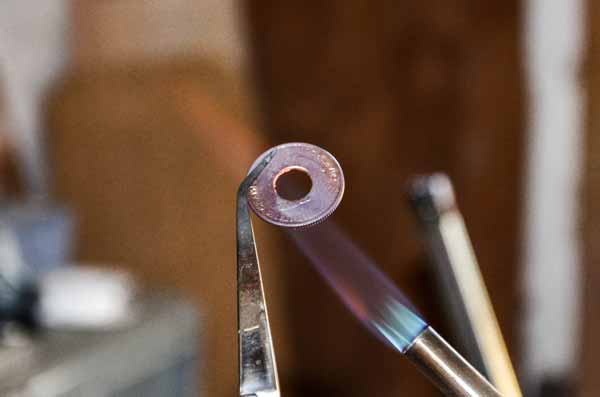
Step 5: In order not to damage the reliefs of the coin in the process of striking, we let it cool down a bit.
Step 6: We introduce the coin in the ring gauge mandrel or, we could also use a steel bar that had exactly the necessary diameter.
We begin to knock carefully. You can find a way to interpose a piece of leather between the coin and the hammer in order to minimize the damage caused by hitting.
Go hitting at the same time that you are turning the mandrel.
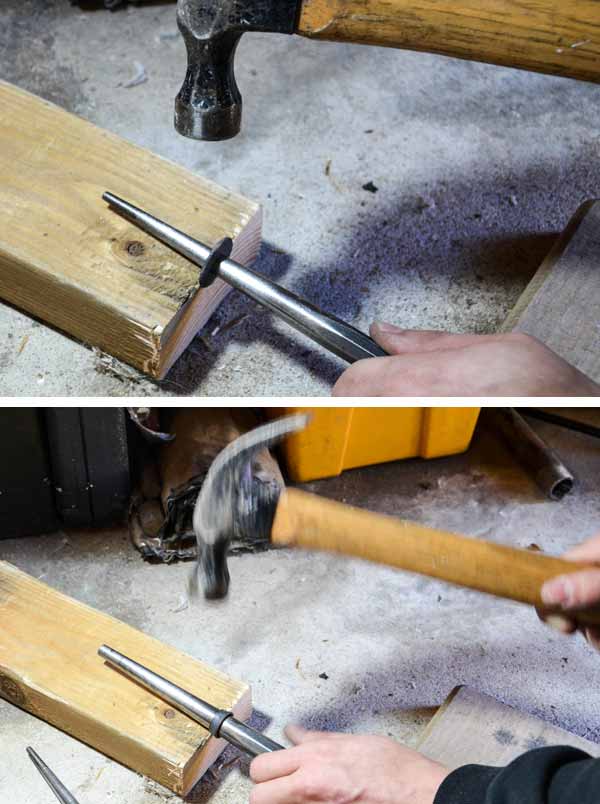
Step 7: Once the coin has been molded, as the mandrel is conical, remove the coin, turn it over and insert it again at the other end. Gently tap again until both sides of the ring are the same diameter.
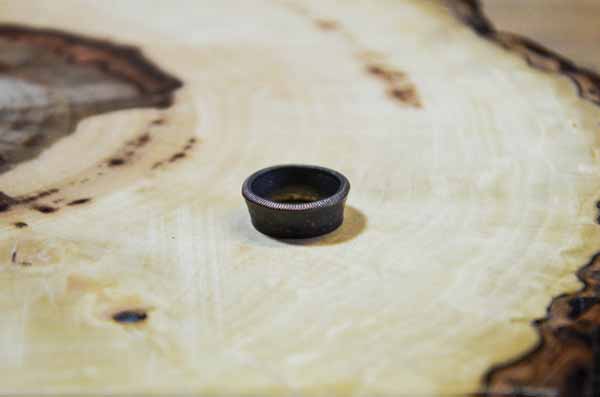

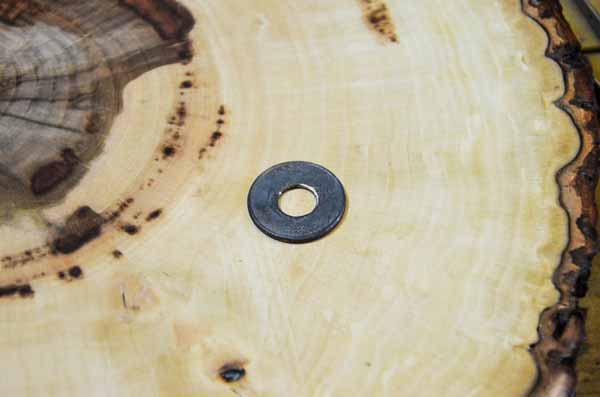
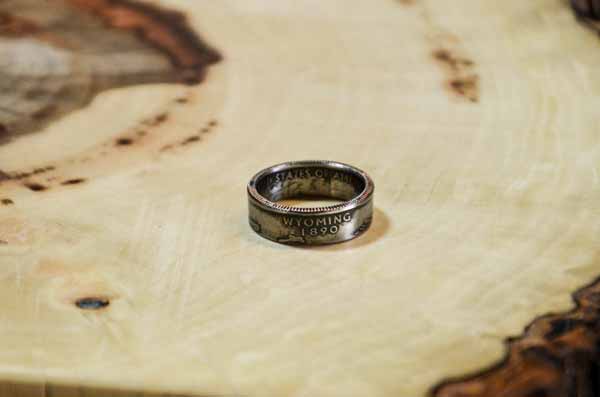
Step 8: Now only the polishing process remains. You must polish the entire ring being careful not to lose or reduce the details of the coin.
You can help yourself to do this, with a Dremel-type mini electric tool, by attaching a specific polishing accessory to it.

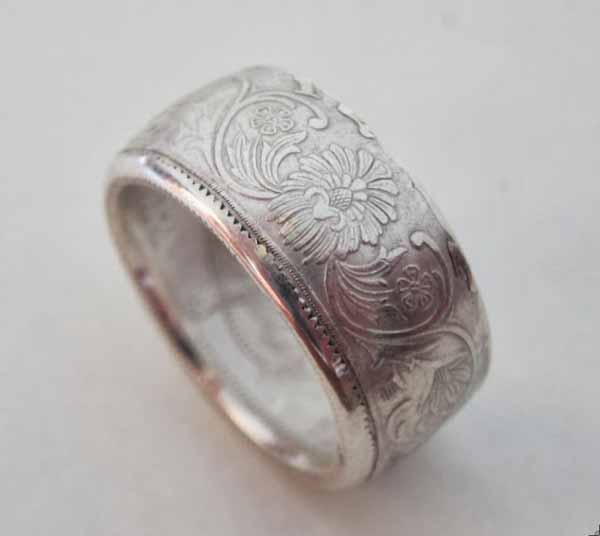
Step 9: Once the whole process is finished, the ring should look something like this.
However, remember that to more or less master this technique, it is necessary to make a good number of rings.
.
Here we leave you a gallery of images of other ring models made with this same technique.
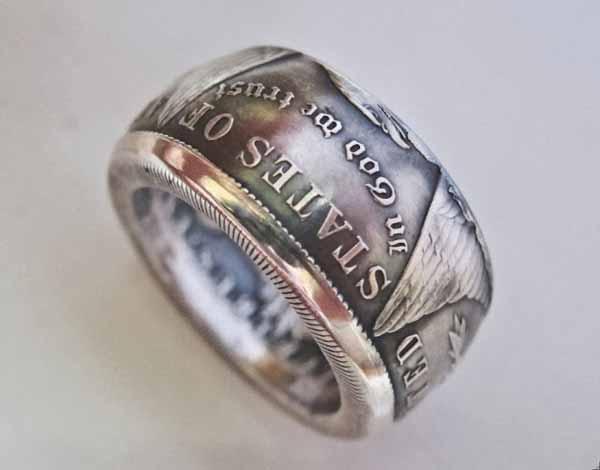
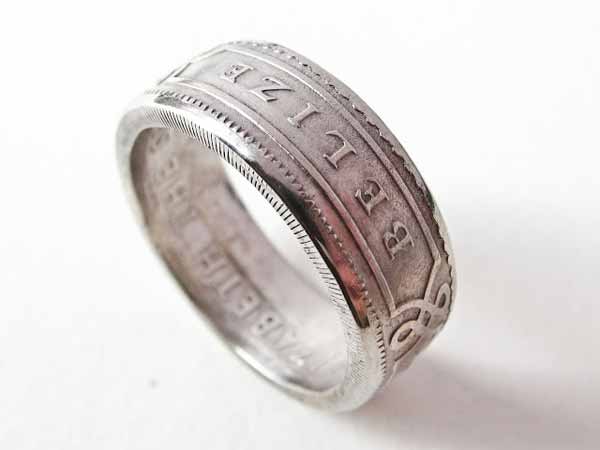
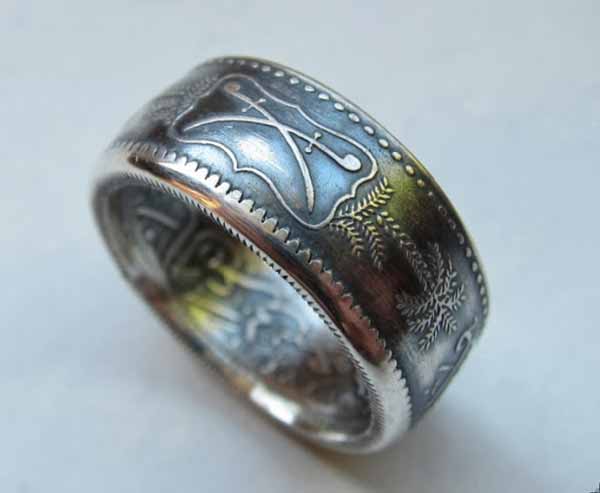
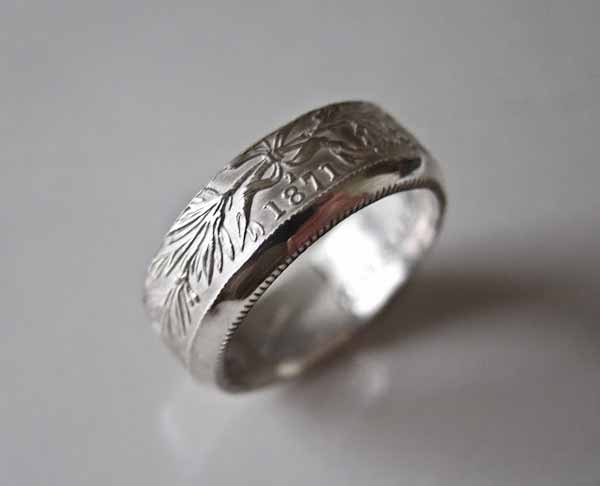
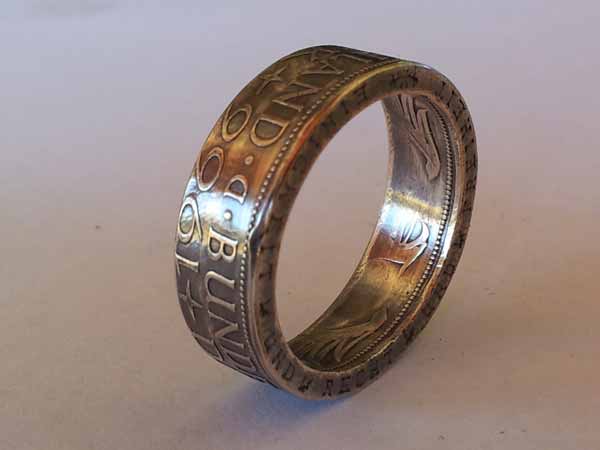
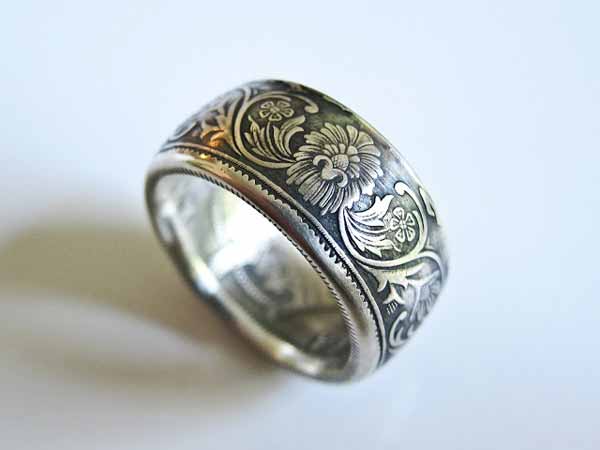
Source: The Ring Tree, O’Shea Coin Rings Y Coin Rings.
You may be interested in seeing these other articles:

Recycled t-shirt rugs |

Playgrounds with used tires |

Solar light bulb with plastic bottles |
Bags recycling can rings |


